


Delivery Fulfillment Type
Delivery fulfillment type allows guests to place orders from a restaurant/property and get it delivered to the preferred location. They can either place instant delivery orders or schedule delivery orders for the same day or future days, depending on the site entity’s kitchen operations.
This feature is applicable only to To Go and Catering profiles.
Configurations in IGCM
Navigate to Kiosk/OnDemand Configuration ➜ Administration ➜ Site Entities ➜ Logistics.
Select the appropriate site entity and click Edit.
Enable the Delivery toggle. All fields in this section are enabled only after enabling this toggle.
Enter the button text, kitchen text, and instruction text in the appropriate fields.
Enter the order confirmation text in the Confirmation Text field.
Enable the Show Confirmation text for each profitcenter checkbox to configure different confirmation texts for different profit centers.
Select the appropriate profit center from the Assign profit center drop-down list and enter the preferred confirmation text in the adjacent Confirmation Text field.
Enable the Set Checktype checkbox to set the appropriate check type for the delivery fulfillment type.
Select the appropriate check type from the Check Type drop-down list.
Enable the Enable Cutlery checkbox to allow guests to indicate the cutlery choices while placing orders.
Enter the kitchen text and confirmation text in the appropriate fields.
Select the preferred location from the Assign location drop-down list to configure the delivery location. The locations configured in the Location menu is displayed in this drop-down list.
Generate QR Codes
Once the location is selected, the Generate QR button gets enabled.
Select Generate QR. The Generate QR Code prompt is displayed.
Enter the QR name in the QR Code Name field.
Select the appropriate site from the Site drop-down list.
Select one of the appropriate drop-down location values if the location is configured as drop-down list or enter the location details manually in the HeaderValues section. The drop-down list (or) field names are displayed based on the assigned locations.
Select Save. The generated QR code is downloaded to the desktop.
Select Save to save the site entity menu.
Delivery Workflow
Launch IG OnDemand To Go on the web browser.
Select Delivery (configurable) from the fulfillment type filter in the Home screen.
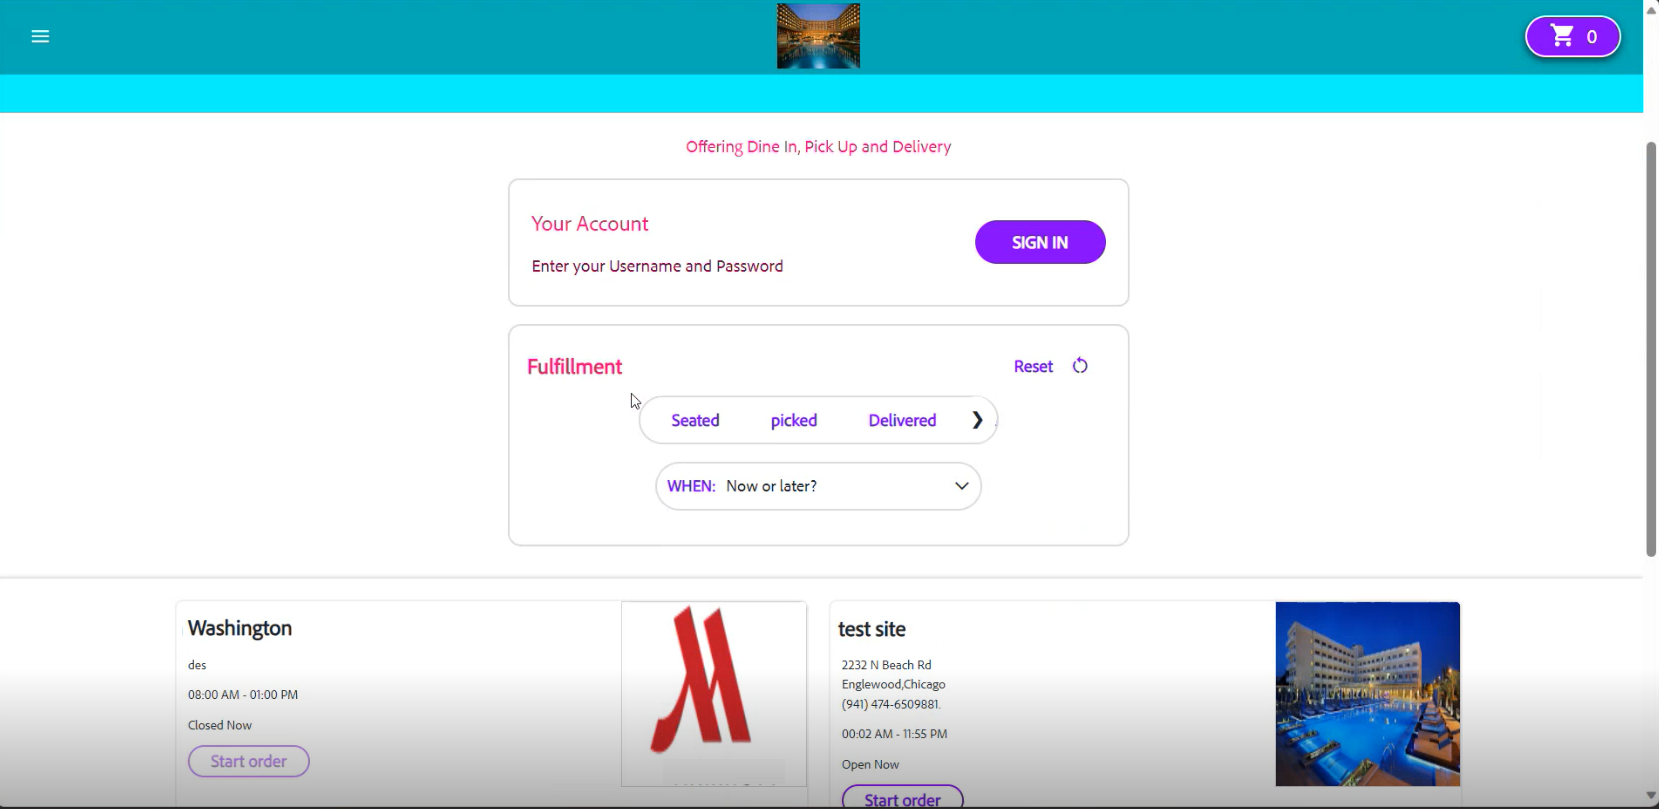
Select As soon as possible or Later Today or Select a future date from the When drop-down list based on the kitchen configurations supported for the site entity.
-
As soon as possible - This option can be selected to place orders instantly.
-
Later today - This option can be selected to schedule orders on the same day for a specific time slot. Selecting this option displays the AT field.
-
AT - Select the preferred time slot to place the order.
-
-
Select a future date - This option can be selected to schedule orders on a future date. Selecting this option displays the Date field.
-
Date - Select the available date by clicking the Calendar icon. After selecting the date, the AT field is displayed.
-
AT - Select the preferred time slot in the selected date to place the order.
-
Select the appropriate location from the Where drop-down list.
Select the preferred store location. The configured profit centers are displayed.
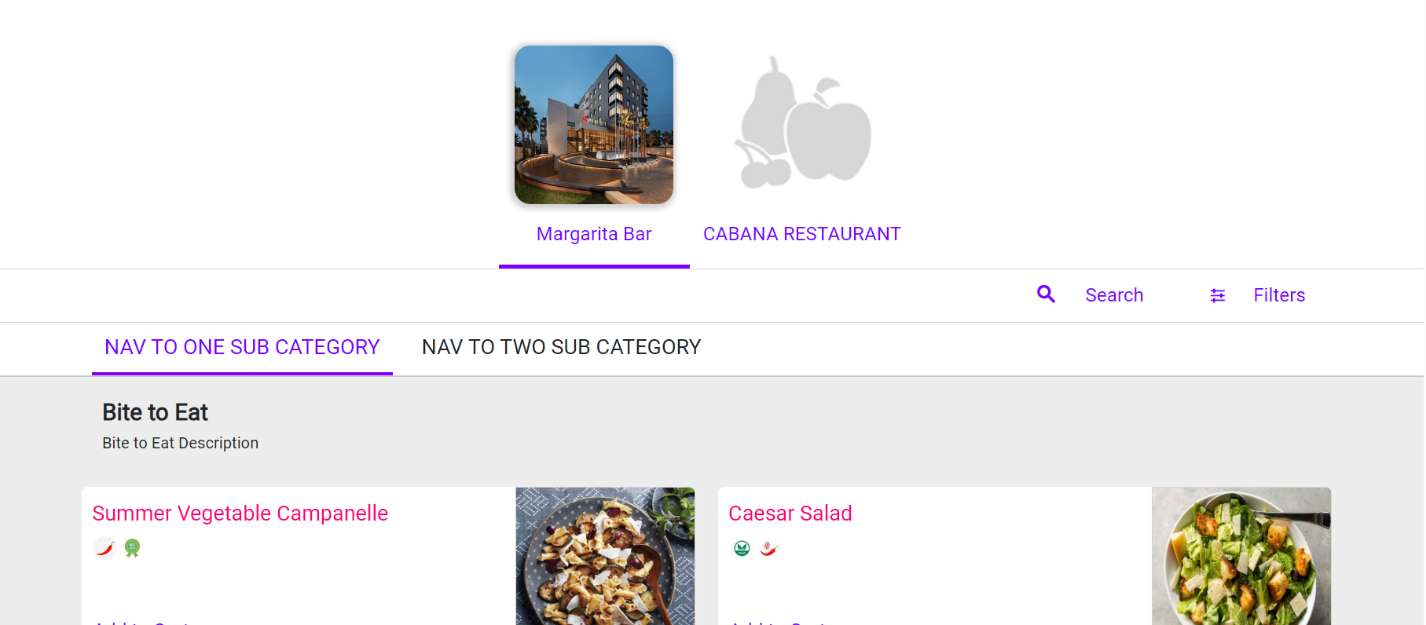
Select the preferred profit center. The Menu screen is displayed.
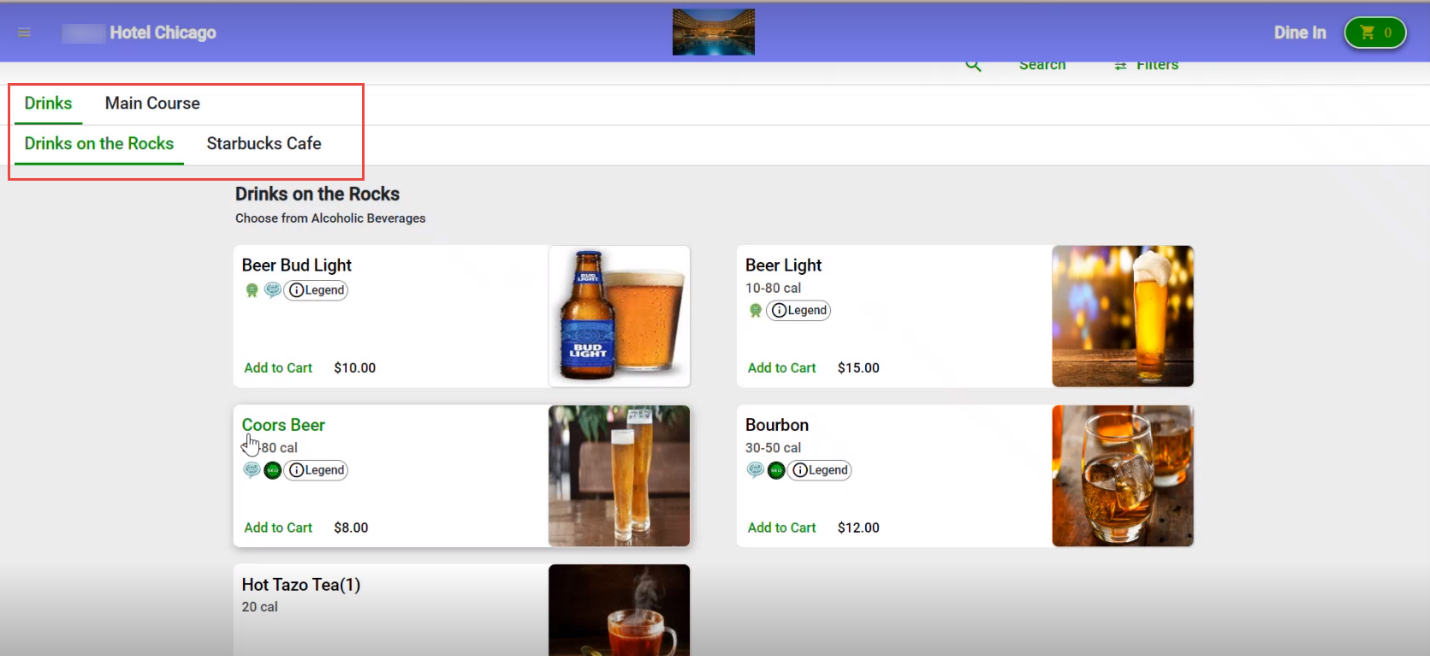
Select the preferred category and subcategory.
Select an item to view the item card that displays item details such as item name, description, tags, legends, special instruction section, price, and calories.
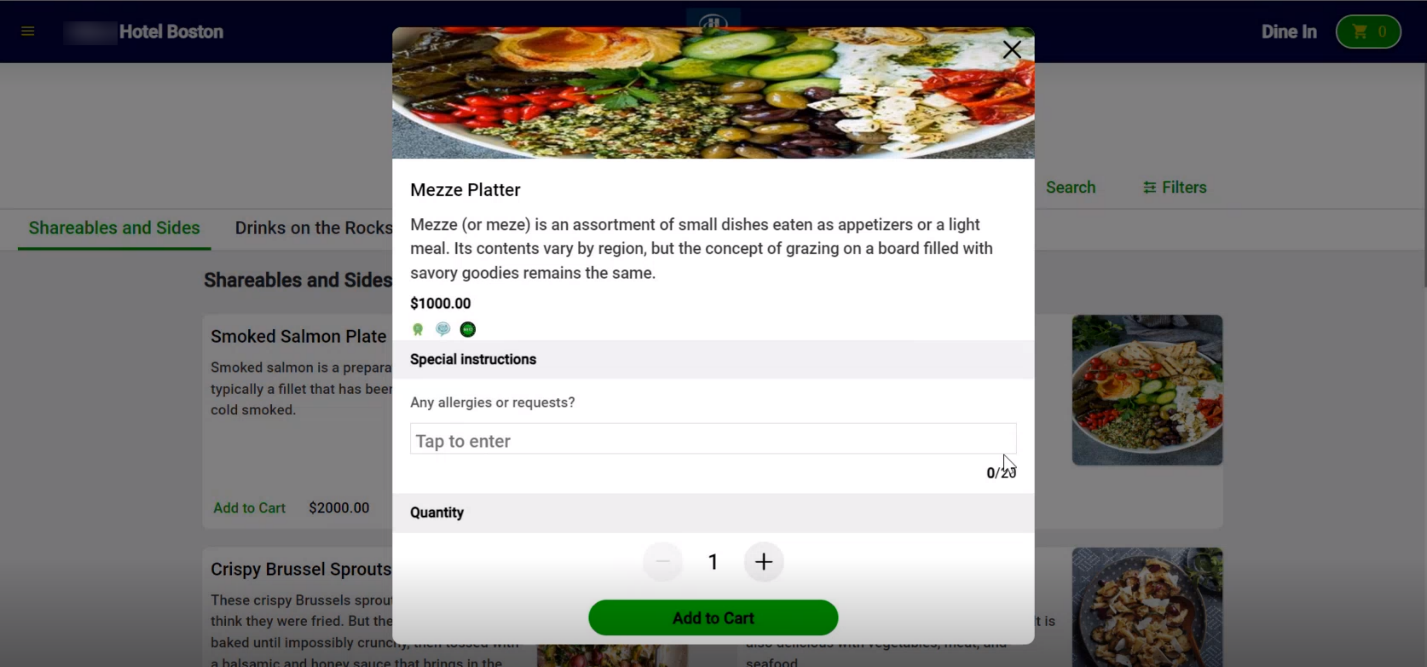
Enter the special instruction that must be communicated with the chef/kitchen in the Special Instruction field.
Select Add to Cart to add the item to the cart.
Select Checkout in the Cart screen. The Checkout screen is displayed.
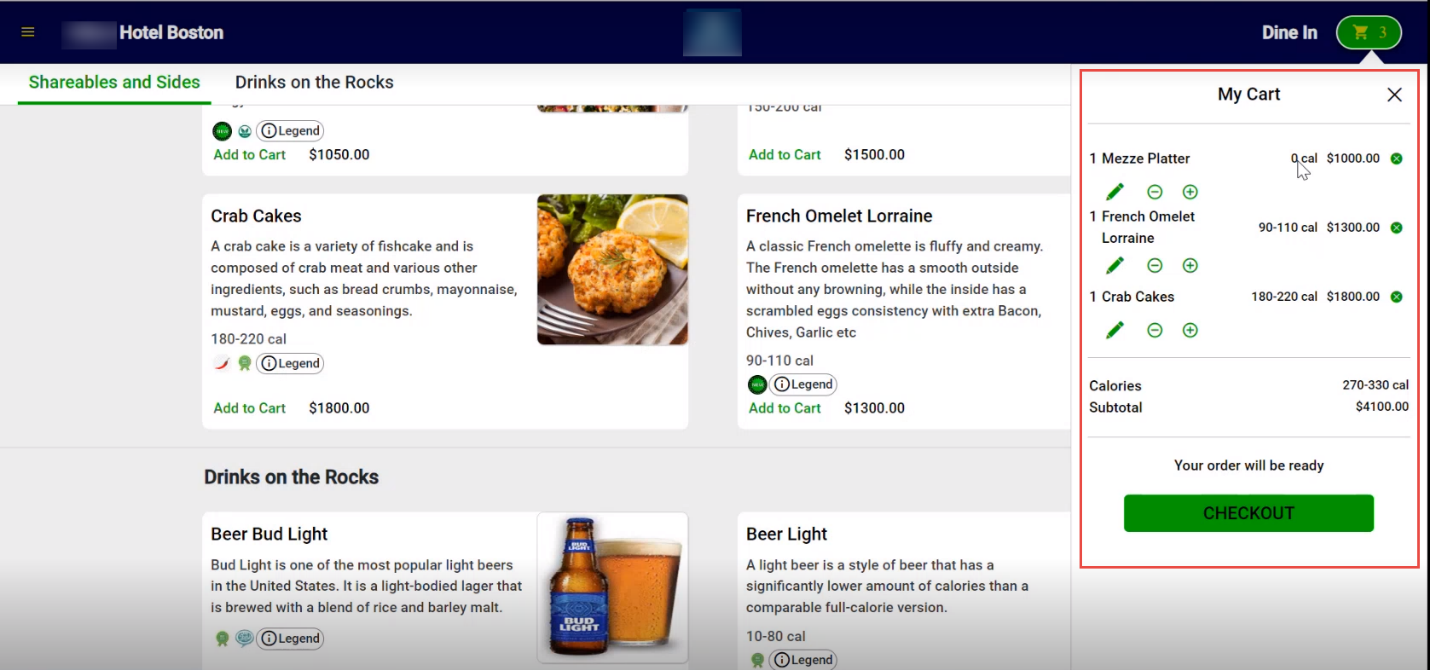
Select Delivery (configurable) as the fulfillment type.
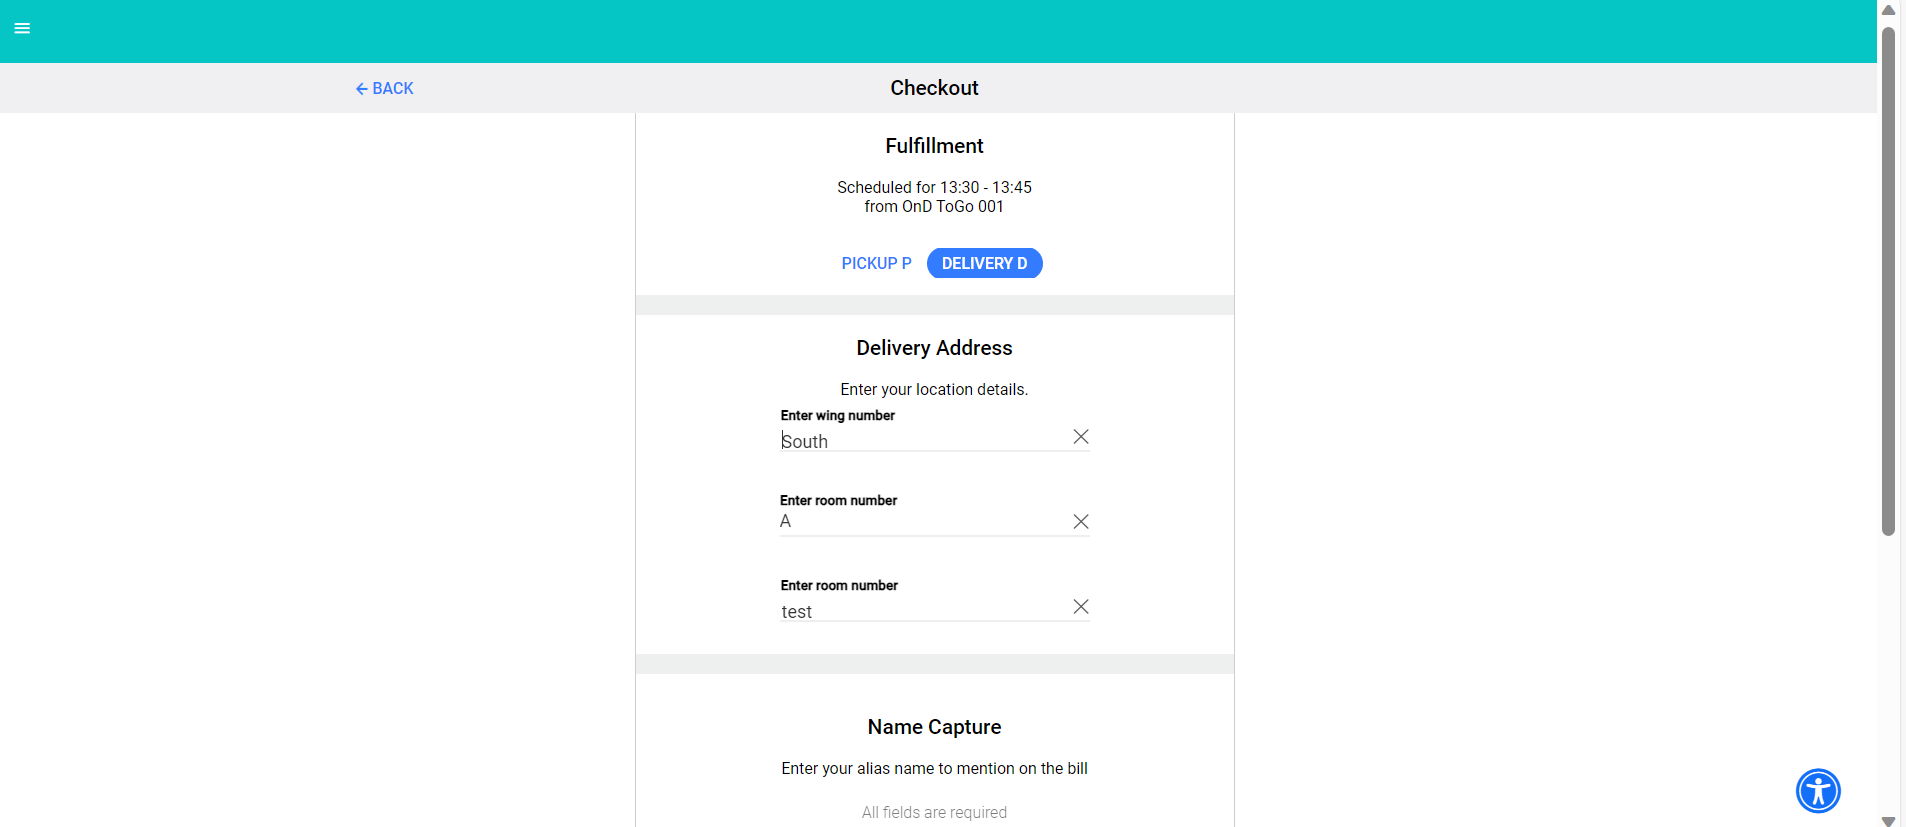
Enter the appropriate delivery address in the Checkout screen.
Enter the name in the First name field of the Name Capture section.
Enter the email address in the Email Address field.
Select the appropriate country code and enter the mobile number in the Enter Phone Number field.
Select Next. The Promo Code and Tip section are displayed in the Checkout screen.
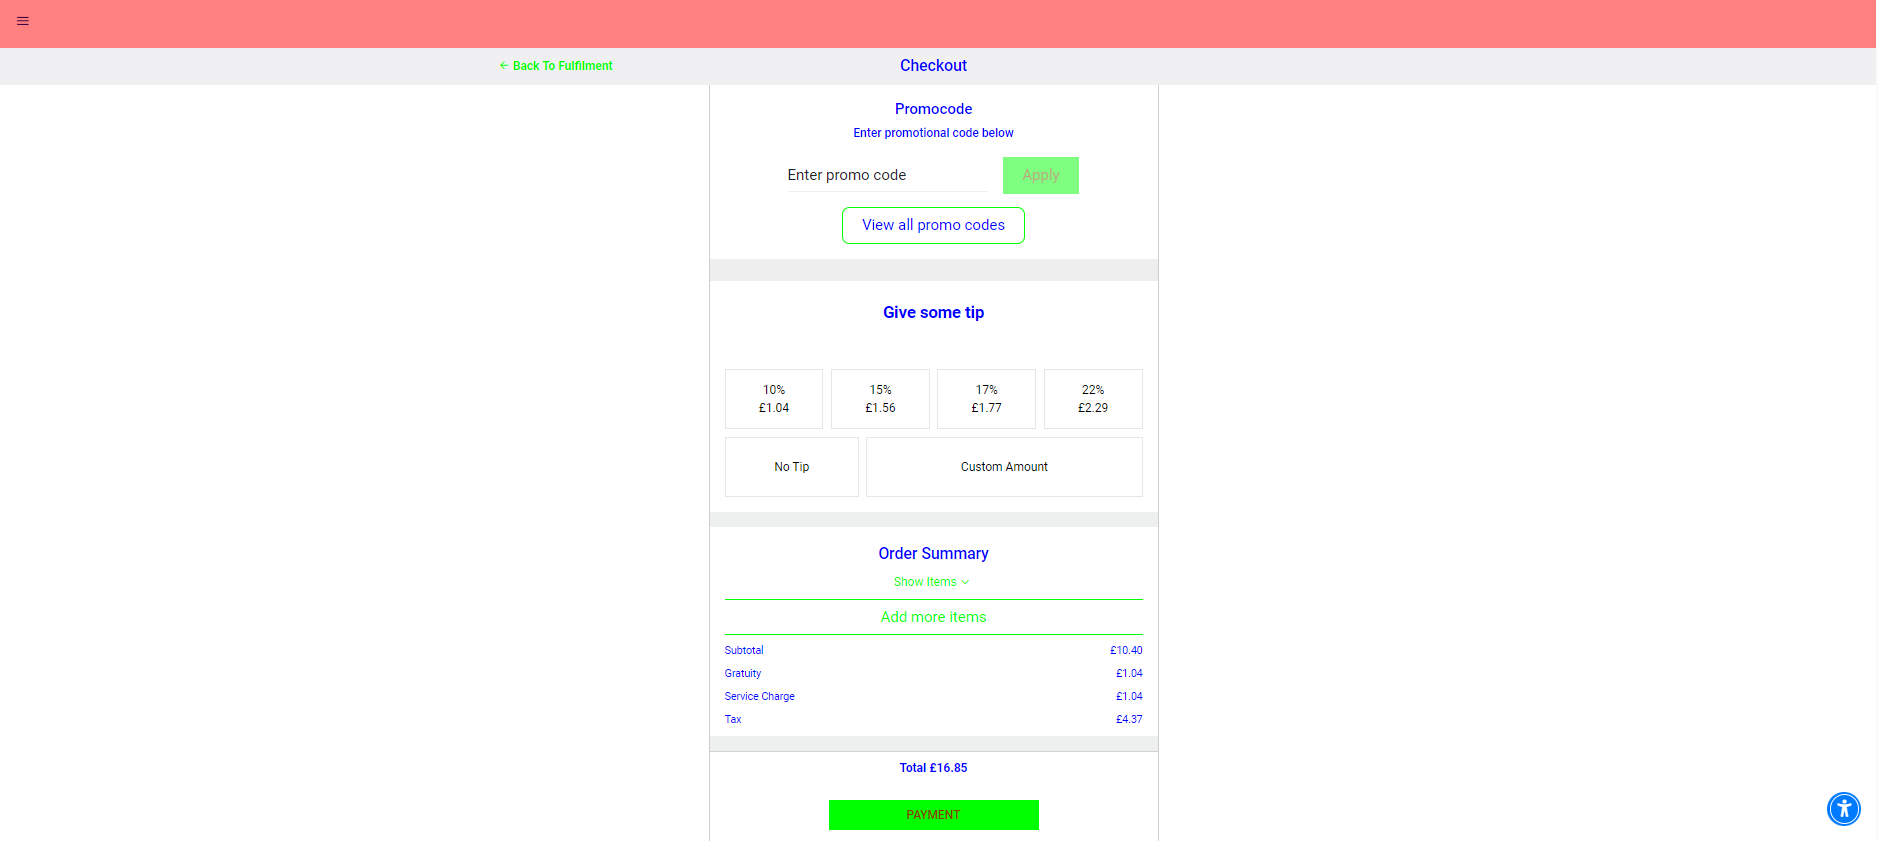
Enter the promo codes manually in the Enter Promo Code field or choose one of the available promo codes by selecting View all promo codes.
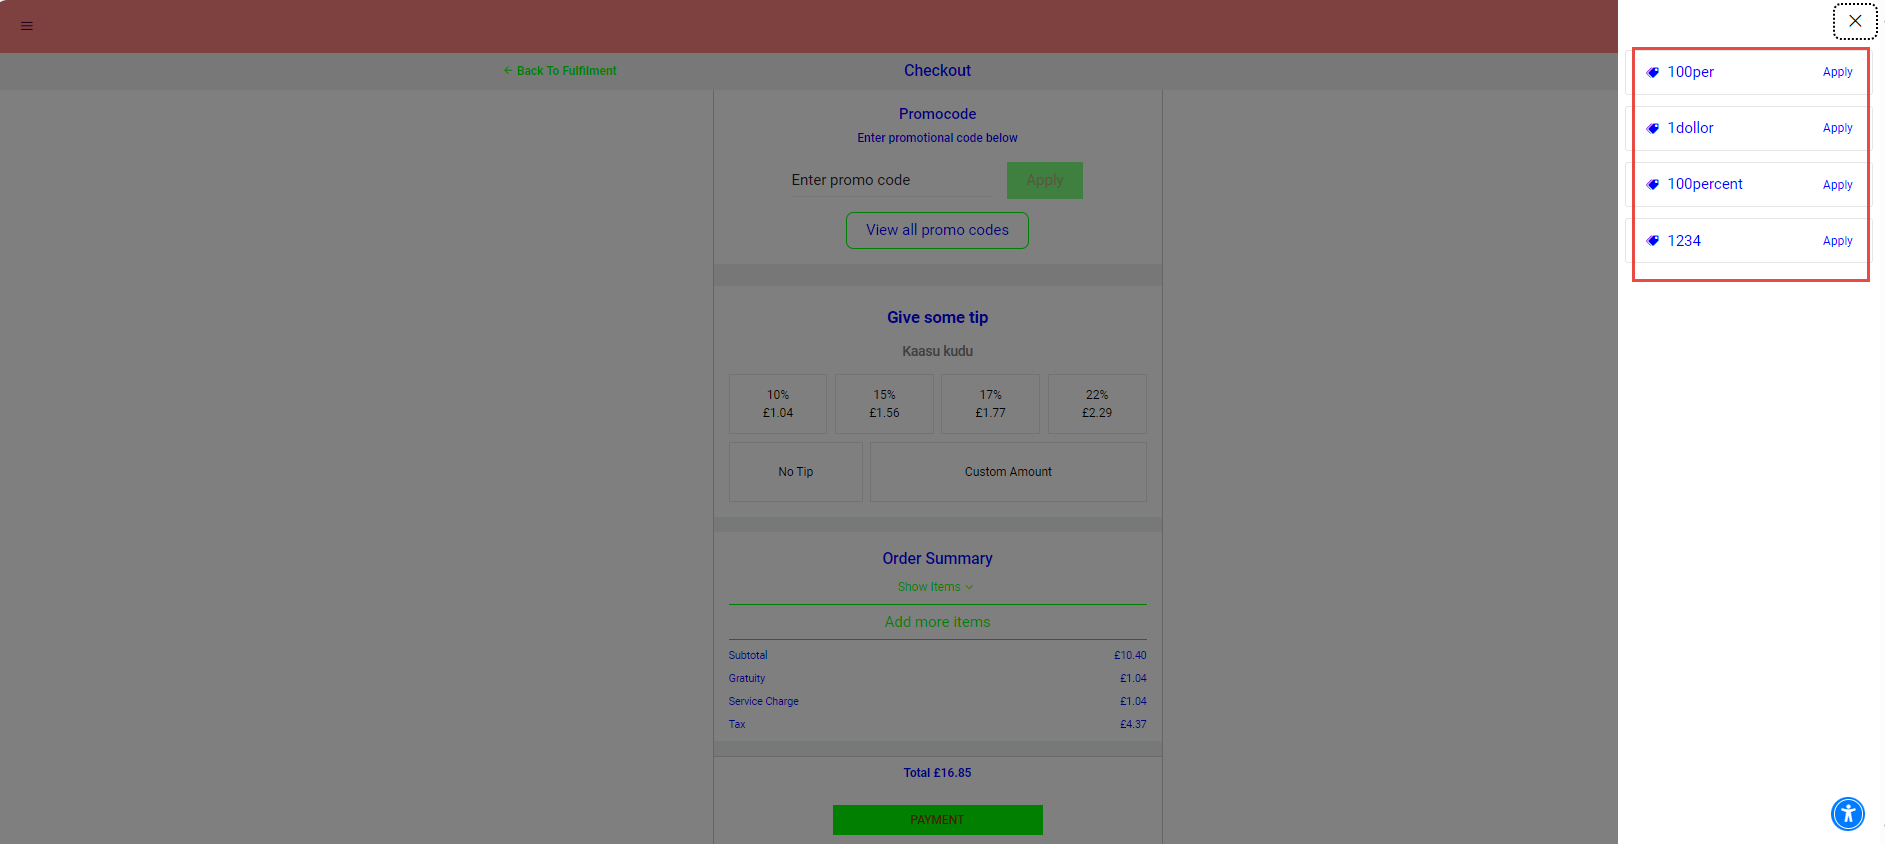
Select Apply to apply the preferred promo code.
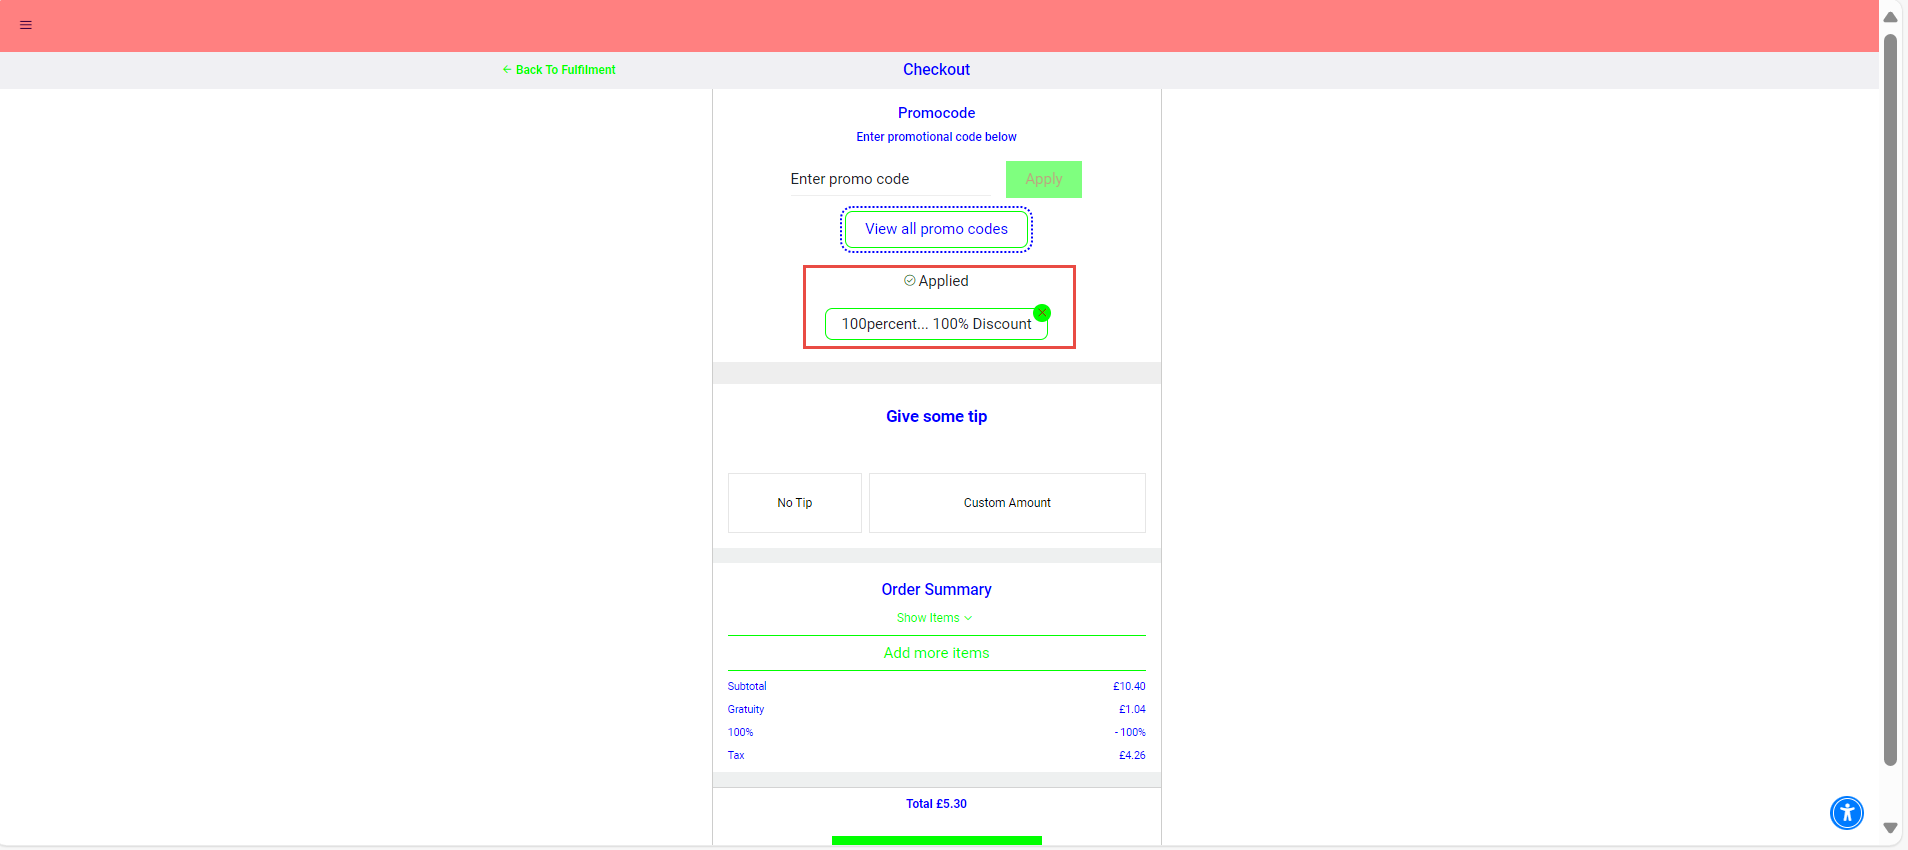
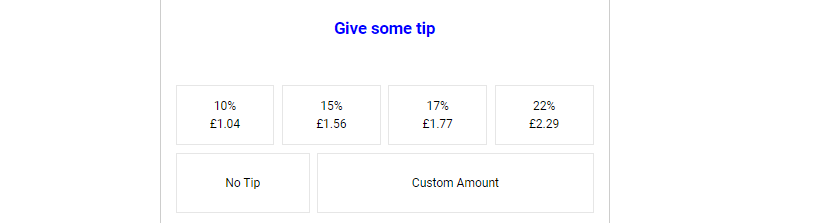
Select the preferred tip percentage from the configured tip values. The Custom Amount button can also be selected to enter the custom tip amount.
Now, the Order Summary screen displays the added items, applied discount or promo code, applied tip, and the total order value.
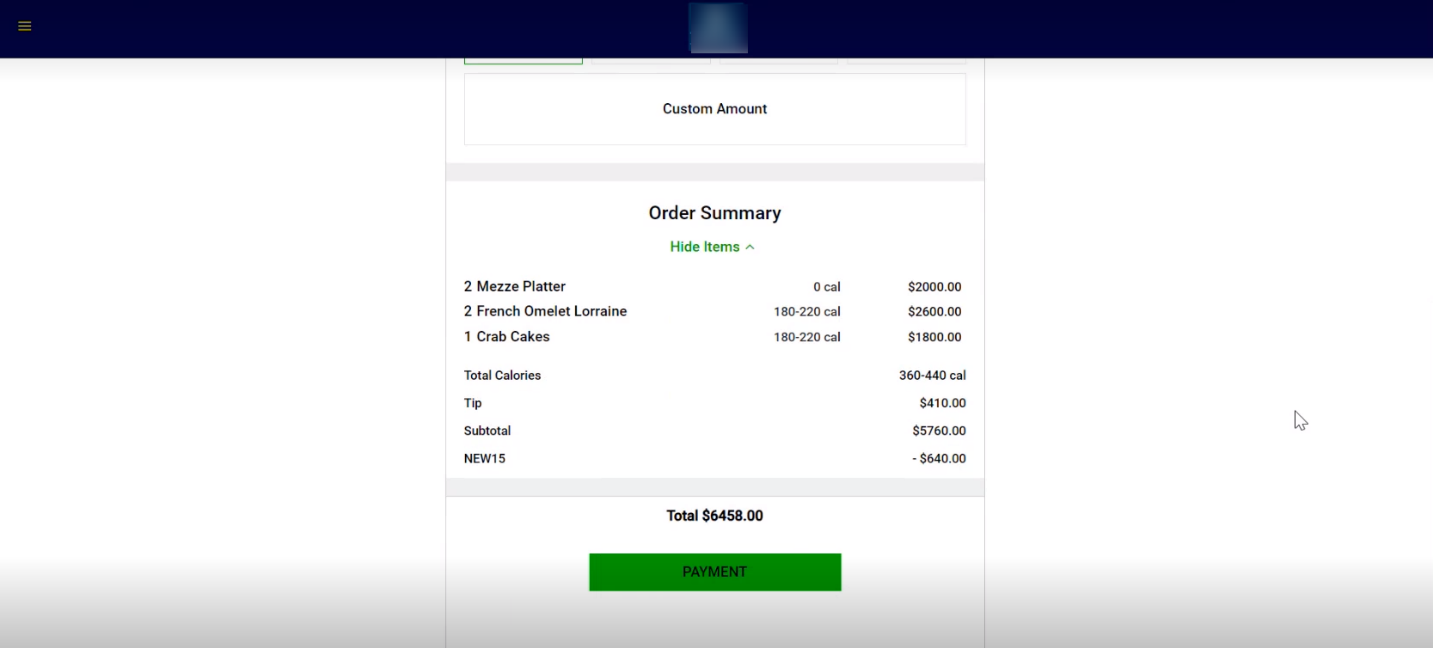
Select Payment. The Payment screen appears.
Select one of the preferred payment types from the supported payment types list. Example: Cash.
Once the payment is successful, the Order Confirmation screen appears with the order number, selected fulfillment type, delivery location, configured confirmation text for the fulfillment type, and order summary.
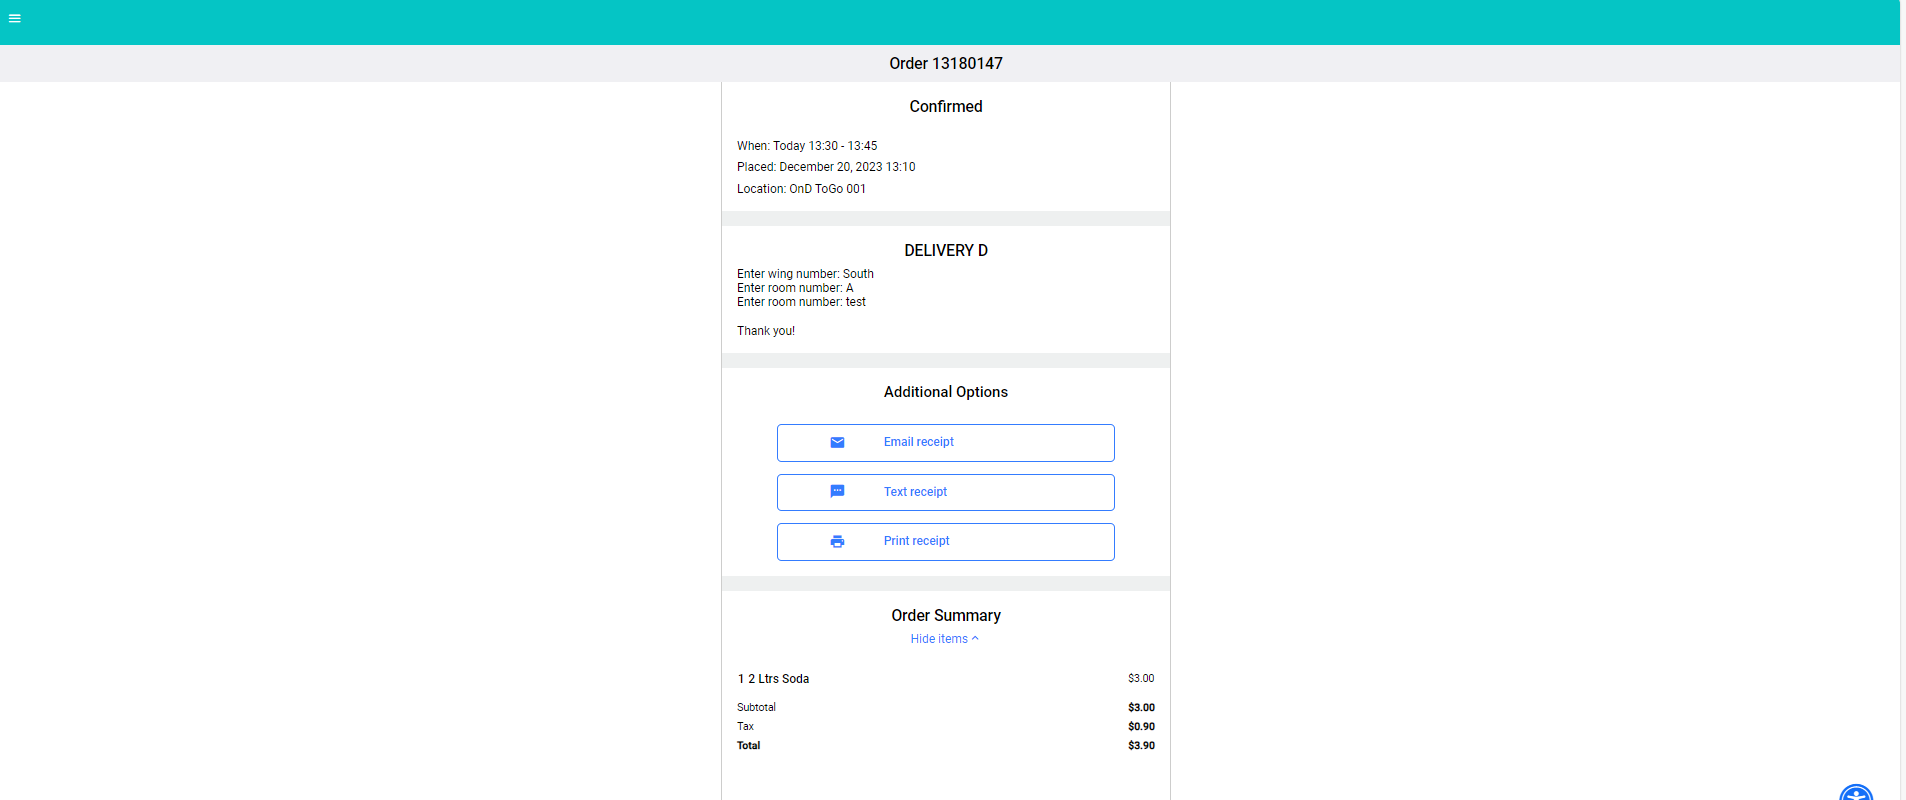
Guests can receive their order receipts in email or message. The Email or Text options in the Additional Options section of the Order Confirmation screen must be selected for this. Guests can select Print Receipt to print the order receipt.