


Launching POS Terminal Application
Run IG POS as an administrator. The packages mapped in LA will start to download automatically and the Device Registration screen will be displayed.
Enter the license key that is meant for the terminal. Do not enter the license key that is meant for any other product.
Select Enter. The appropriate license profile is displayed in the License Profile field.
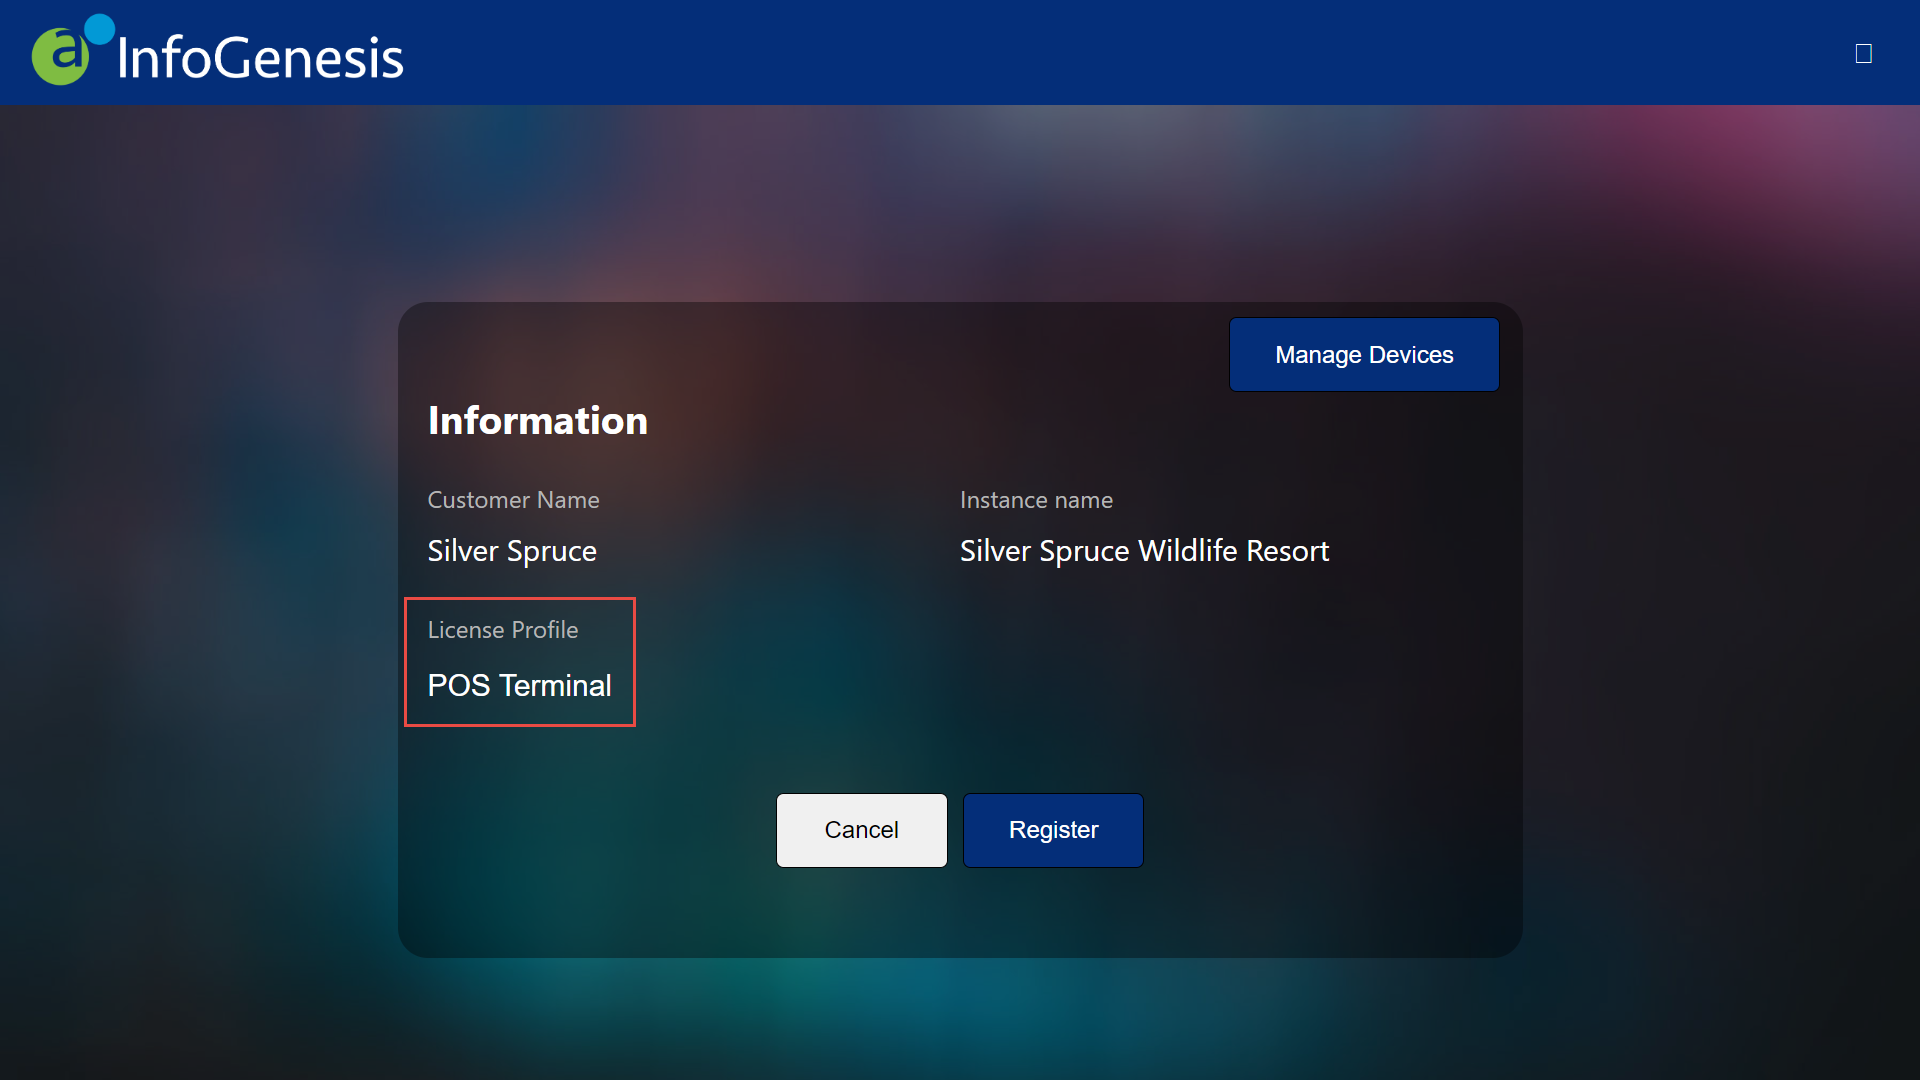
Select Register. The Configuration screen is displayed.
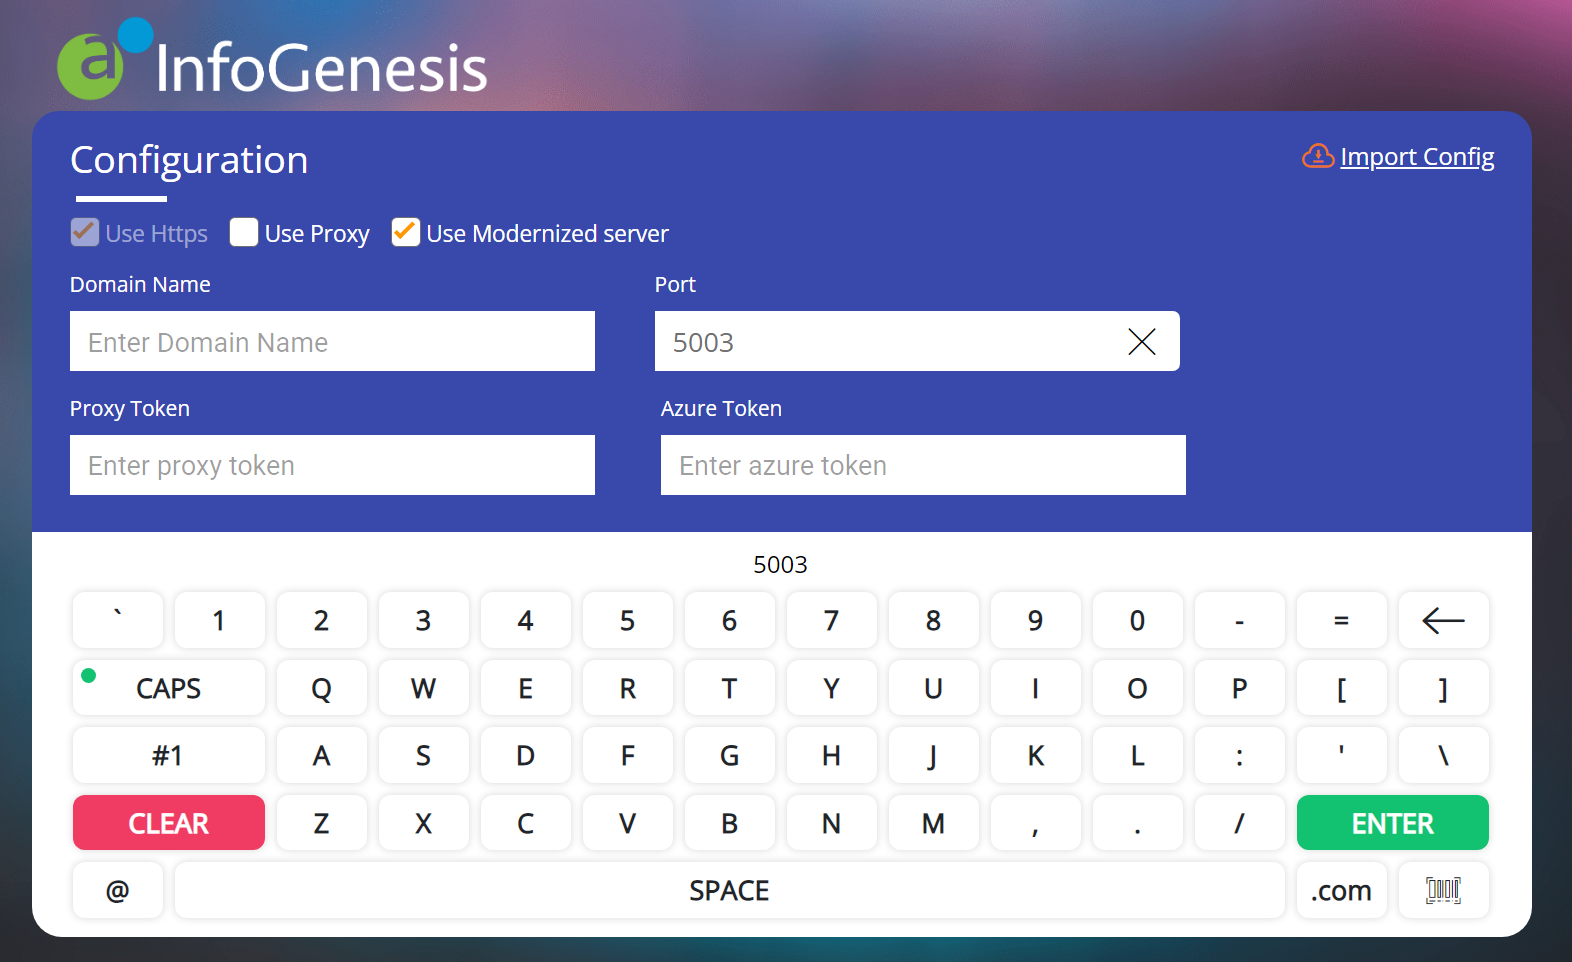
Refer to the following table and fill in the fields:
|
Field |
Description |
|---|---|
|
Use Https |
Enable this checkbox. |
|
Use Proxy |
Applicable for 4.5.x server only, when using IG POS Proxy. |
|
Use Modernized Server |
Enable this checkbox. |
|
Domain Name |
|
|
Port |
SaaS - Leave this field blank. |
|
Azure Token |
Applicable for SaaS customers. Users need not enter any value here; it is autofilled once the domain is entered. |
|
Proxy Token |
The IG POS Proxy token. Applicable for 4.5.x server only, when using IG POS Proxy. |
|
Import Config |
Select this to view and import terminal configuration. |
When Import Config button is selected, a prompt is displayed:
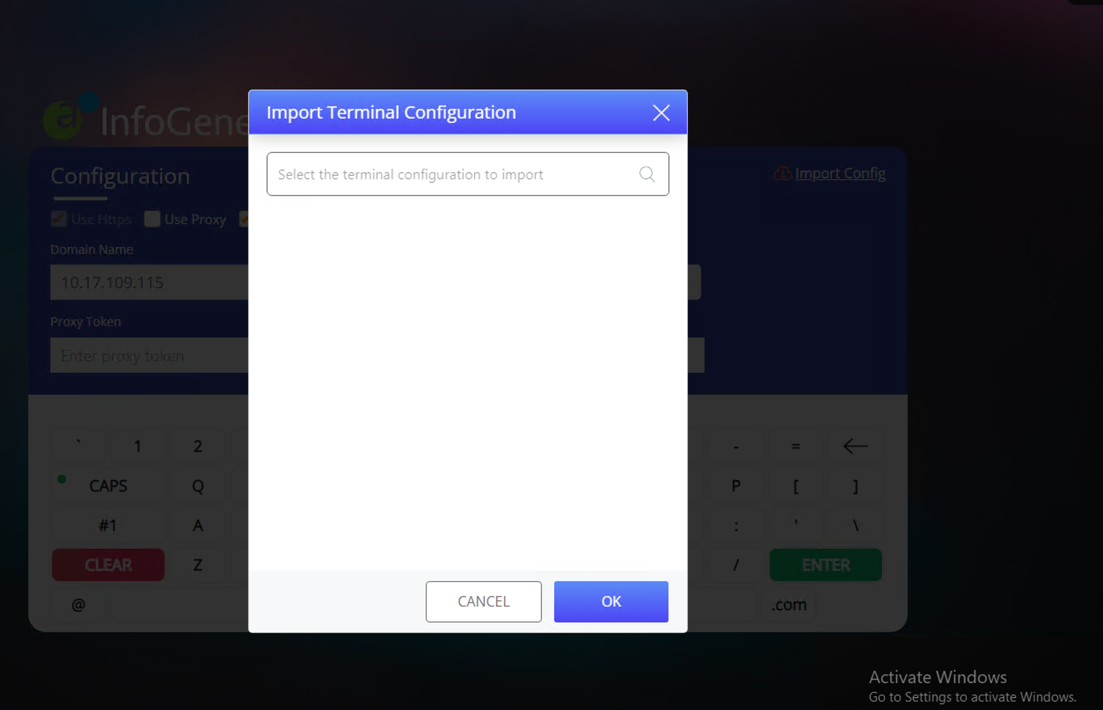
Select the configuration to import. Users can also enter a keyword such as a terminal user’s name to search.
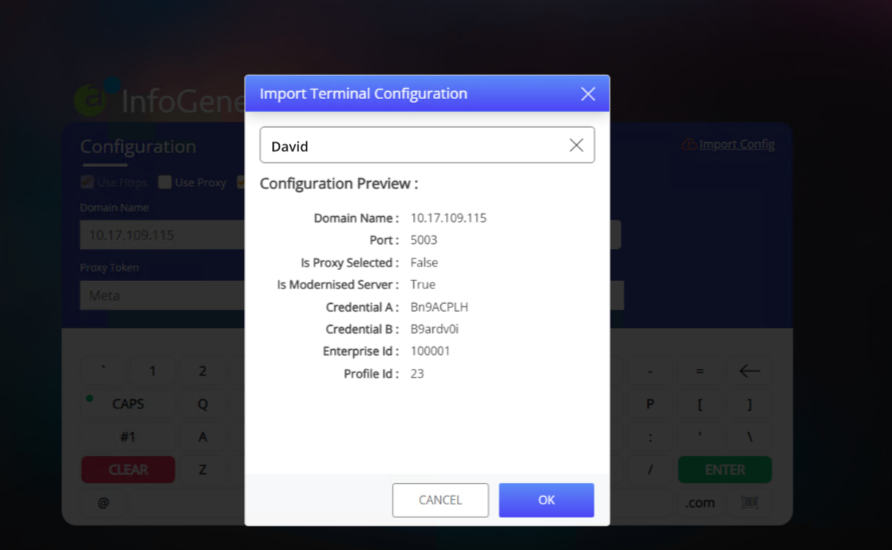
Select OK once the appropriate terminal’s configuration details are displayed.
Select Enter.
Enter the store credentials obtained from the Store form in IGCM.
|
Field |
Description |
|---|---|
|
Credential A |
The code entered here must match the Credential A value in the Store form in IGCM. |
|
Credential B |
The code entered here must match the Credential B value in the Store form in IGCM. |
Select Enter. A new set of fields are displayed in the Configuration screen.
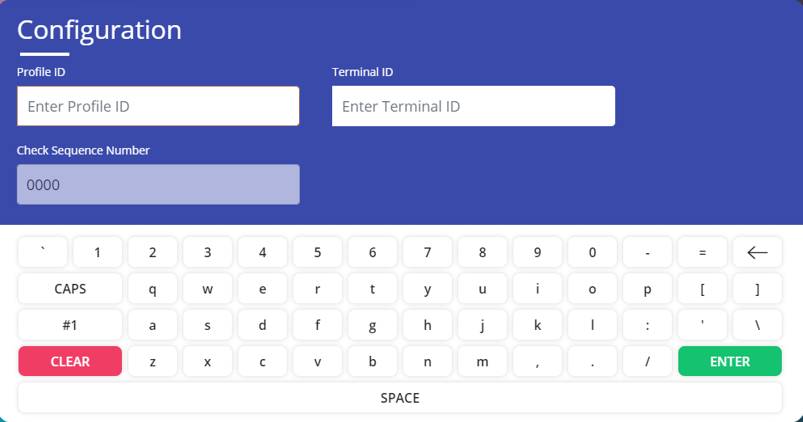
Enter the values in the following fields:
|
Field |
Description |
|---|---|
|
Profile ID |
Enter the POS terminal profile ID. |
|
Terminal ID |
Enter the terminal ID to which the terminal is to be connected. |
|
Check Sequence Number |
The check sequence number is a non-editable field. Based on the entered terminal ID, the check sequence number appears. Based on the check sequence number, the check sequence begins in the terminal and the check number appears accordingly. |
Select Enter. A prompt appears, if the time zone configured in Universal Desktop is different from the system time zone.
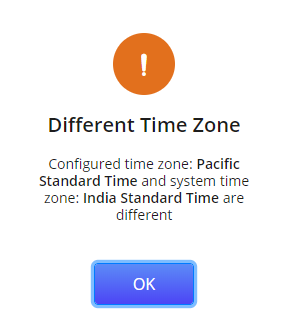
Else, the Sign On screen appears.
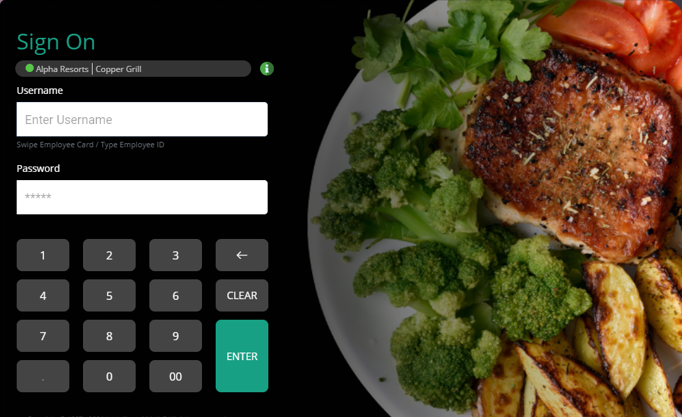
Enter the username and password and select Enter to login.