


Installing POS Terminal Application
Open the https://ig.onagilysys.com/appinstaller URL in a browser. The Device Registration screen appears.
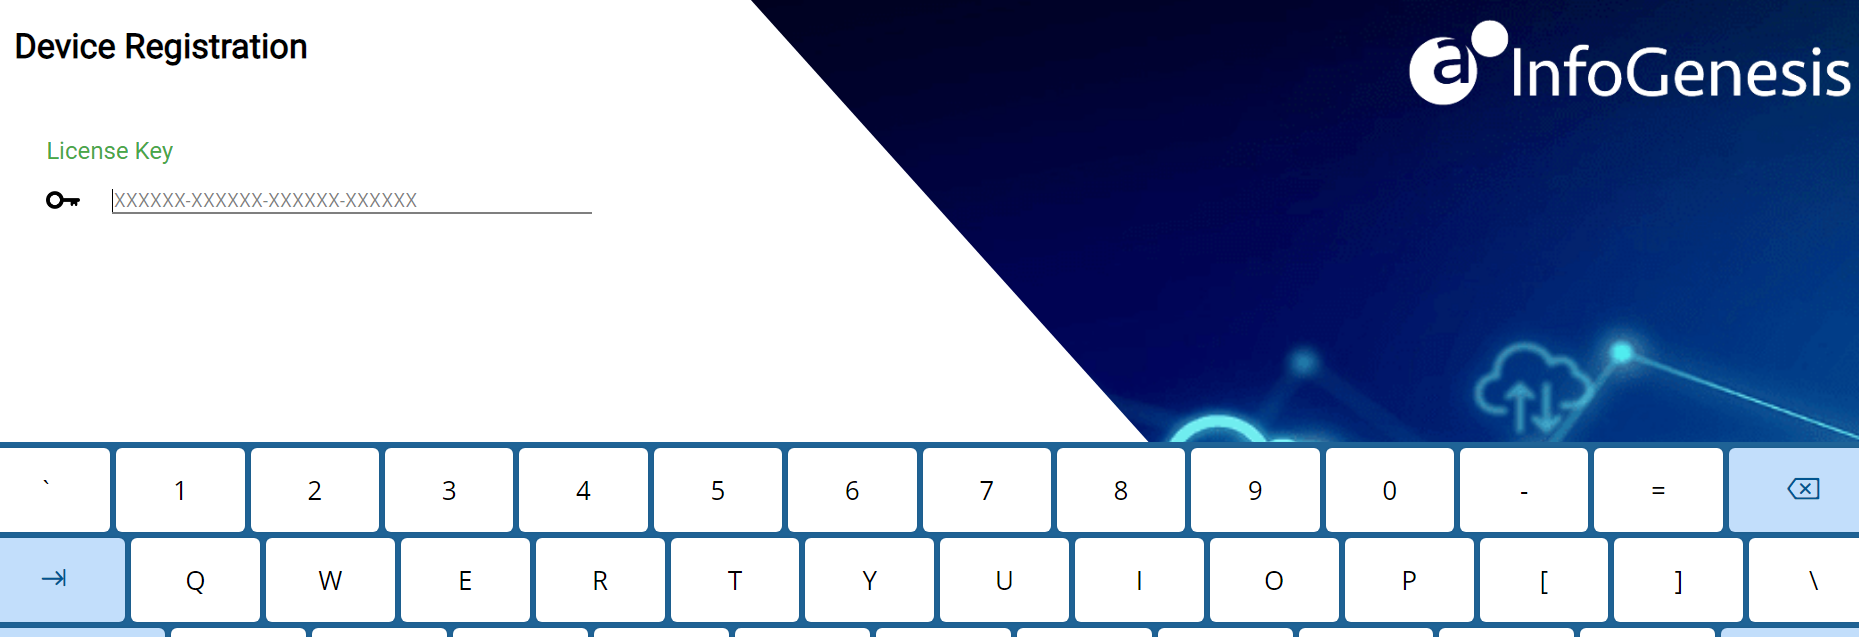
Enter the license key and press Enter. The Installation Preferences screen appears.
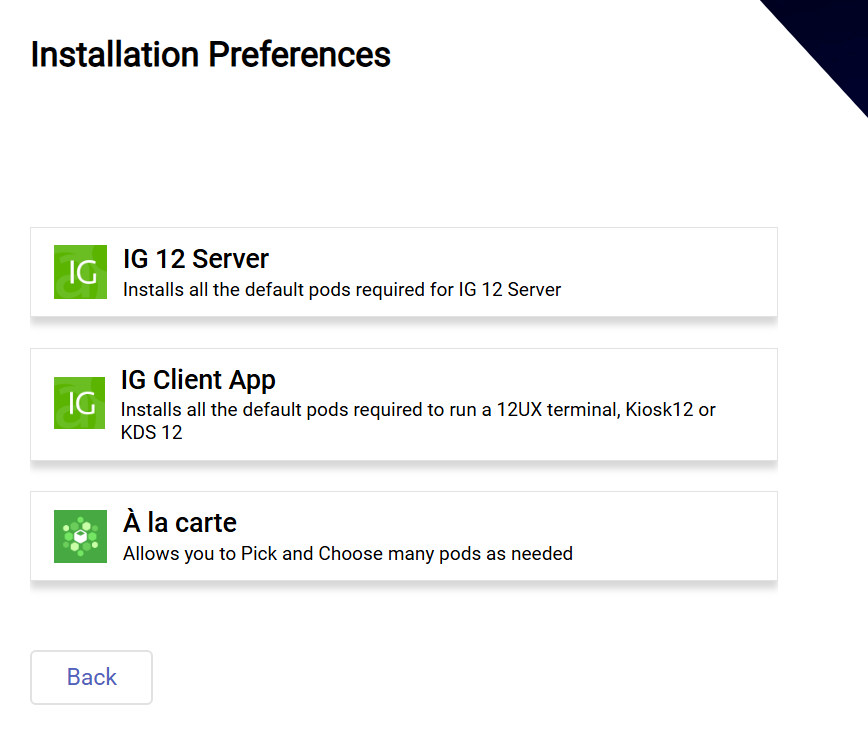
Select the IG Client App option to install the IG App Central and Terminal pods by default. The Import Configuration screen appears:
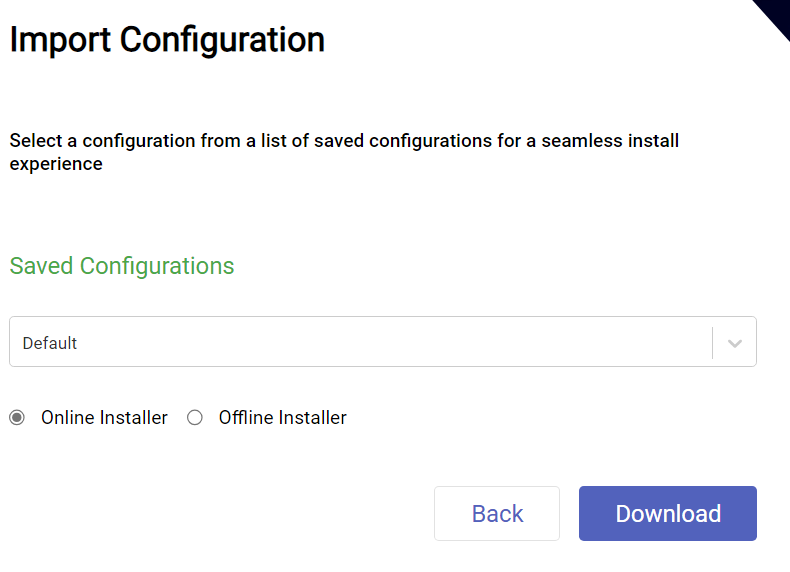
The Saved Configurations drop-down list displays the list of exported configurations. Users must contact the property administrator to get the appropriate configuration to be selected. The pods will be installed based on the selection in the Installation Preferences screen, and pod configurations will be auto filled based on the configuration selected.
Leaving it as Default will install the pods and users must update pod configurations later.
Refer to the following table and choose the appropriate option:
|
Field |
Description |
|---|---|
|
Online Installer |
Select this option to download the online installer. This installation method requires uninterrupted internet connectivity. File size is around 65 MB. IGAppsInstaller_12.x.x application file and an installer Json file (appinstaller.insjson) will be downloaded. |
|
Offline Installer |
Select this option to download the offline installer. File size is around 1.2 GB. IGAppsInstaller_12.x.x ISO file and an installer Json file (appinstaller.insjson) will be downloaded. Internet connectivity is required to download the packages from CDLS when the IG App Central auto launches after successful installation. |
Select the preferred option and select Download. The following screen is displayed and the files will be downloaded.
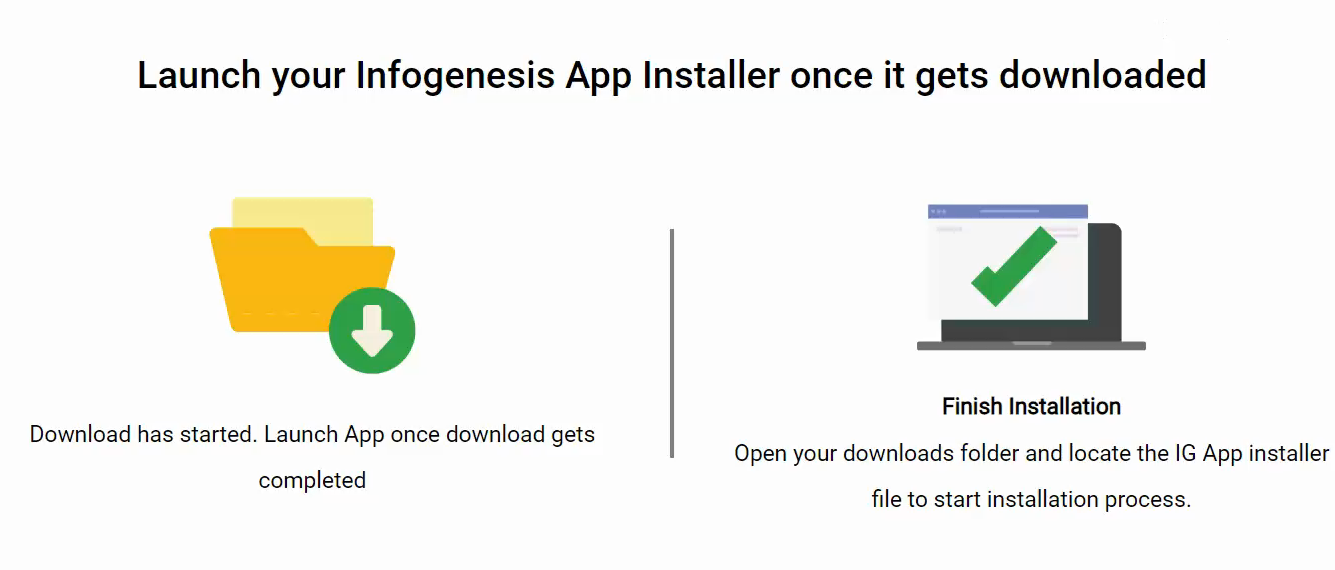
If the property prefers to place the IGAppsInstaller file in a network shared path, ensure to place the Installer Json file in the same folder. The installer JSON file contains information on pods to be downloaded, imported configurations, license key, and blob download URL.
Navigate to the Downloads folder. Right-click the IGAppsInstaller_12.x.x file and select Run as administrator. The Select Installer Json File screen appears.
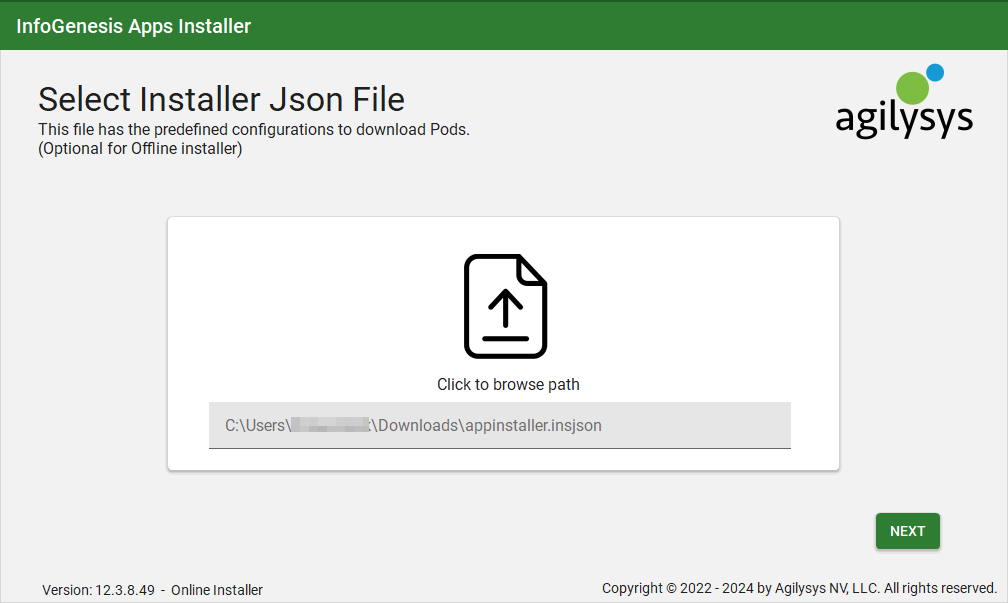
The Select Installer Json File screen appears with the path where the installer Json file resides. Otherwise, select Click to browse path to navigate and select the path where the installer Json file is saved.
Select Next. The InfoGenesis Apps Installer screen appears:
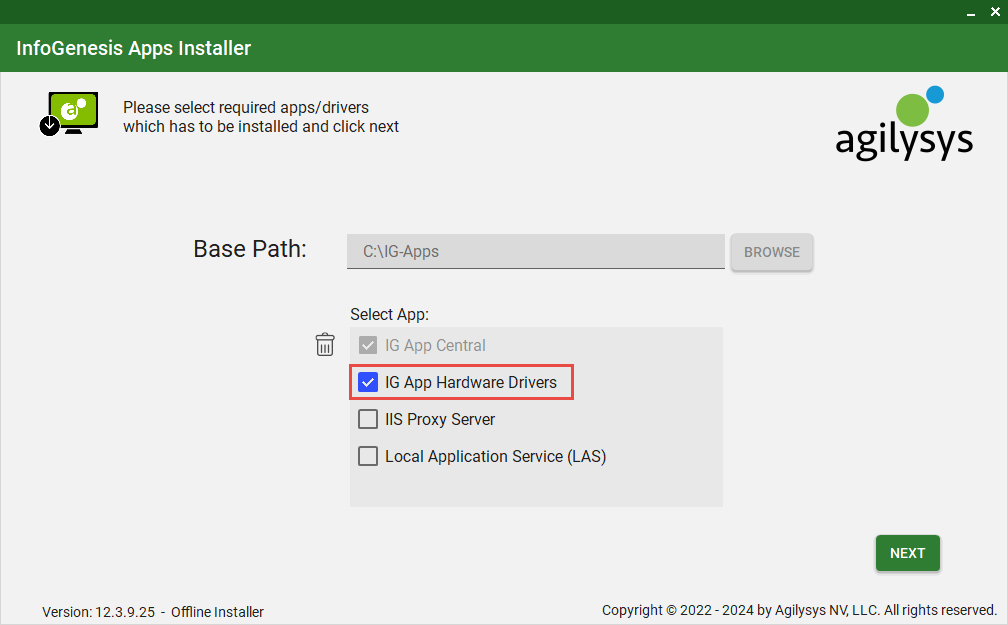
Refer to the following table and fill in the fields:
|
Field |
Description |
|---|---|
|
Base Path |
Select Browse and enter the path where the installer must be installed. |
|
IG App Central |
This installs the IG App Central application. This checkbox is selected by default and is non-editable. |
|
IG App Hardware Drivers |
Select this checkbox. The drivers specific to the terminal device will be installed. |
|
IIS Proxy Server |
Leave this checkbox unselected. |
|
Local Application Service (LAS) |
Leave this checkbox unselected. |
Select Next. The App Central Configuration screen appears.
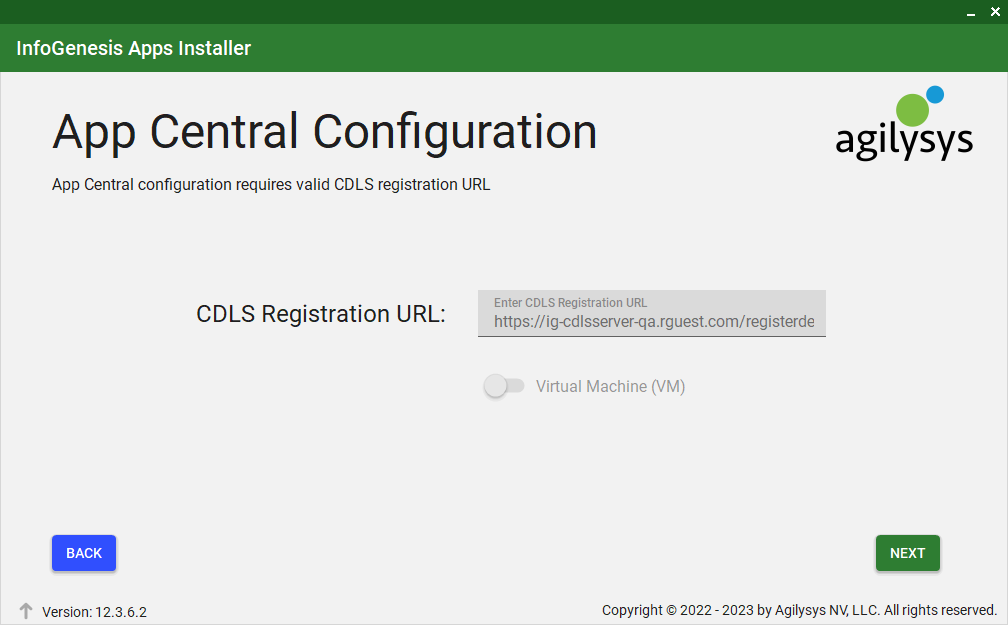
Enter the CDLS URL in the CDLS Registration URL field.
Leave the Virtual Machine flag unselected.
Select Next. The Hardware Configuration screen appears.
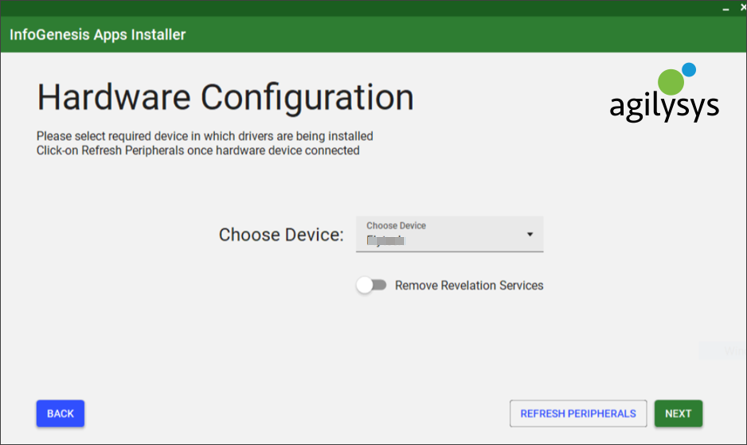
Select the appropriate device from the Choose Device drop-down.
Leave the Remove Revelation Services flag as it is. It is not applicable for InfoGenesis POS 12UX.
If a new peripheral is connected, user must relaunch the Installer and click the Refresh Peripherals option. Refresh Peripherals Success message appears.
Select Next. The Installation Progress screen appears.
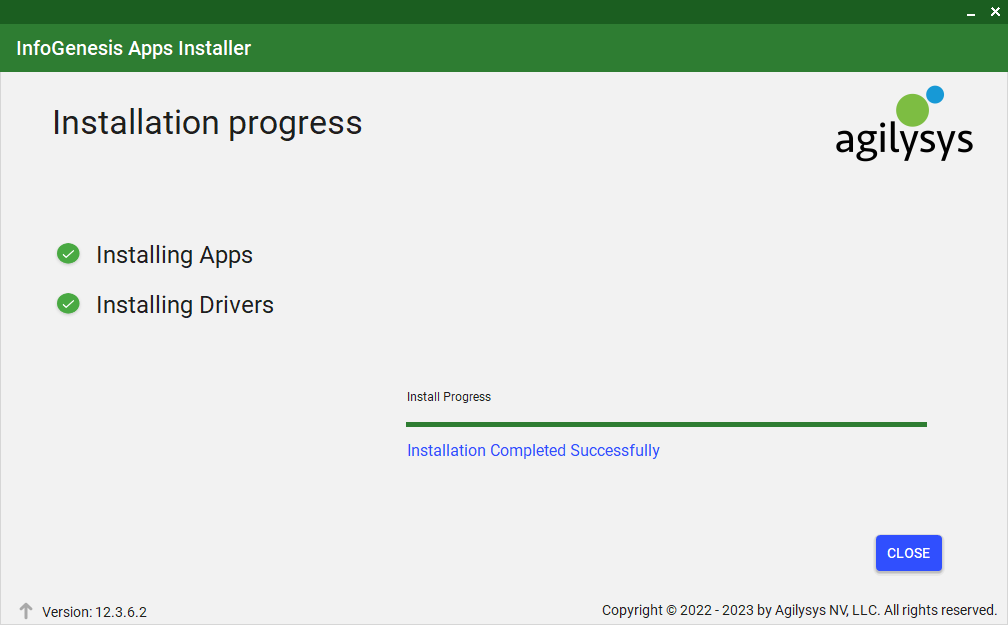
Once the installation is complete, a desktop shortcut (IG POS) is created.
The Restart Terminal prompt appears if IG App Hardware Drivers checkbox is selected during installation.
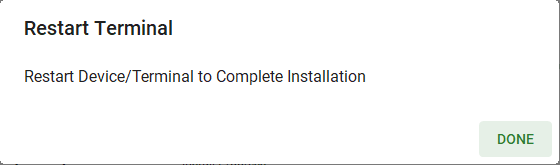
Select Done and restart the terminal.