


Advanced Split Check Functionality
InfoGenesis POS supports the advanced version of Split Check (#3) function. As a part of the advanced design, the following changes have been made at the POS terminal.
-
The following types of splitting options are displayed on a bar at the top of the screen instead of a separate screen:
-
Split by Seat
-
Split by Course
-
Split by Item
-
-
Assign to Seat functionality is no longer available as a separate button. Users can now perform the Assign to Seat functionality within Split by Seat function itself.
-
Two new view options, Grid and List View, are available on the top of the screen for users to explore.
-
Blank spaces of the screen have been removed to utilize the whole screen.
-
Split checks with assigned seat numbers are displayed on the list view.
-
Combine check button has been renamed as Merge check.
-
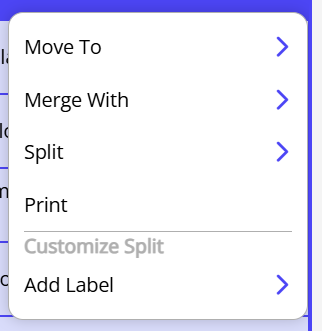
Add Label button has been added to the ellipsis of split checks.
-
Users will no longer be prompted to enter the number of splits. They can directly select the Add button available on the screen to split up checks.
-
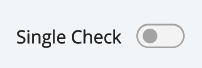
A new Single Check toggle has been added to the Split Confirmation prompt.
To enable the new design at the terminal, NewSplitcheckDesign and Start25SeatsbyDefault, must be set to True in the Universal Desktop and the IGCM in the Settings section of the Settings.ini File.
IGCM: POS Configuration ➜ Profiler ➜ POS Terminal ➜ Files
Universal Desktop: Profiler ➜ POS Terminal ➜ Files
|
Field |
Description |
|---|---|
|
NewSplitcheckDesign |
By default, this field is set to False |
|
Start25SeatsbyDefault |
By default, this field is set to False. This field is applicable only when NewSplitcheckDesign is set to True. |
Implementation at the Terminal
Open a check and add preferred items.
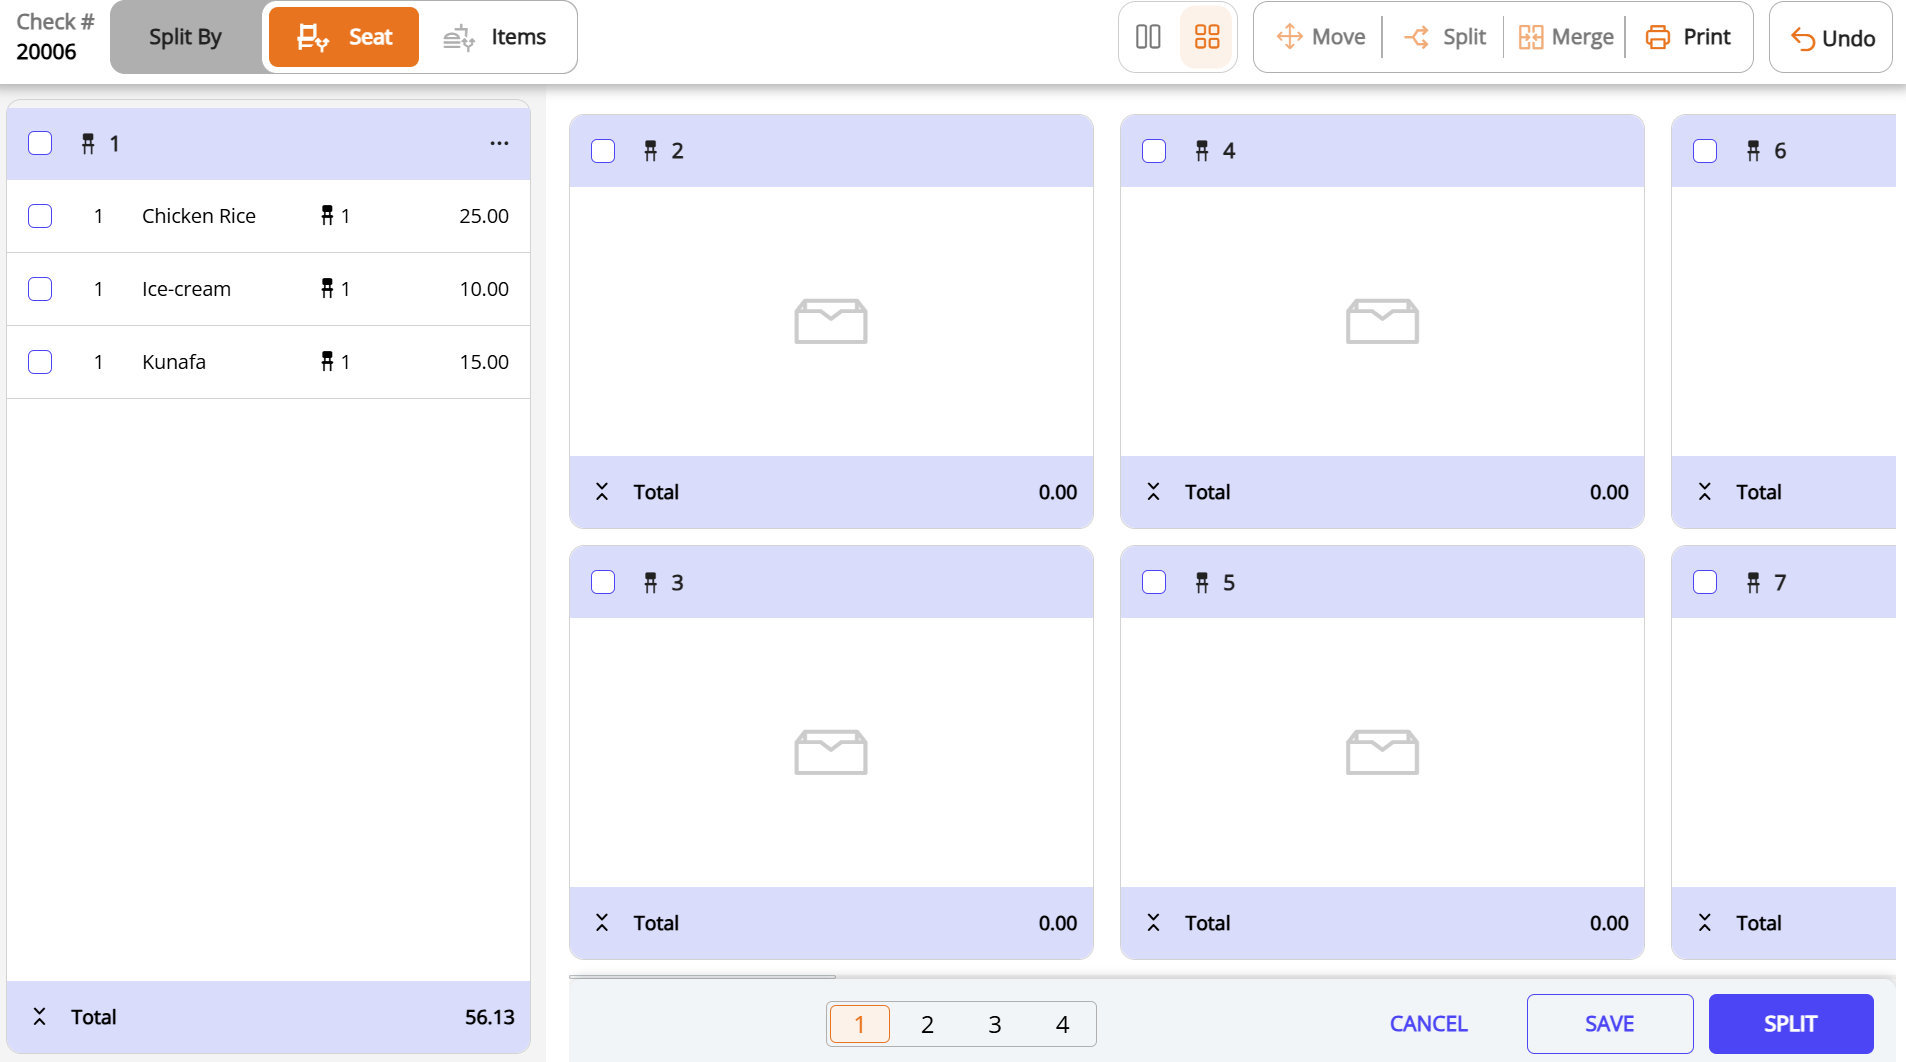
Navigate to Function Screen ➜ Split Check (#3). The split check functionality screen is displayed.
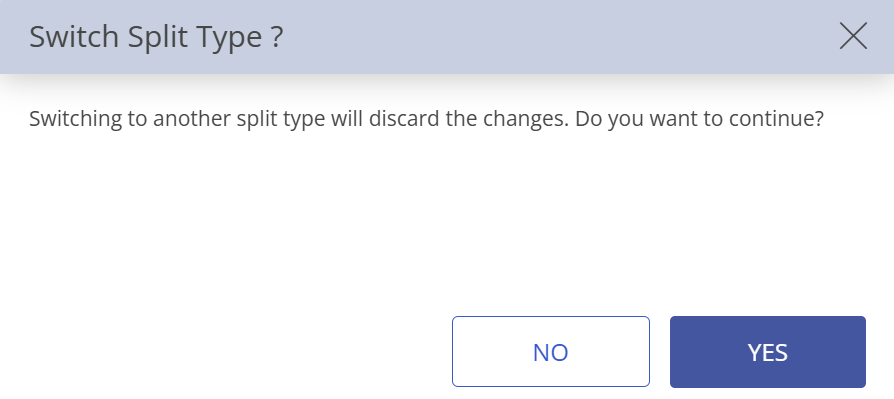
The following prompt message will be displayed if users switch tabs to any other split type simultaneously while performing a split function:
The following icons can be accessed through this screen:
|
Icons |
Description |
|---|---|
|
|
Split Type Options Allows users to split the check in the following ways:
Split by Course option appears only if the check has items added from different courses. |
|
|
Layout Allows users to change to the preferred screen layout. |
|
|
Move Allows users to move items across seats. |
|
|
Split Here Allows users to split the item to the required number of portions, and the amount of the item is divided based on the number of portions. Users can modify the split portions by selecting the add or subtract icons be displayed in each split. The total number portions are indicated on top of the screen once confirmed. |
|
|
Merge Allows users to merge two or more split into a single check. |
|
|
Allows users to select multiple splits and print it as single check or separate checks based on seat consolidation by selecting check. A preview is displayed to users along with the seat number and the seat total. The numbers of selected checks are displayed as 1 of 2, 2 of 2 in the preview section. |
|
|
Ellipsis Following options are available under ellipsis:
|
|
|
Undo Allows users to undo the performed action. |
|
|
Footer Panel Allows users to view the selected seat count. |
|
|
Pagination Allows users to navigate across different pages. |
|
|
Cancel Cancels the current function. |
|
|
Save Allows users to save the check. This option is applicable only for Split by Seat. On selecting Save, the following prompts are displayed to users:
|
|
|
Split Allows users to split the check. |











Split by Seat
Select Split by Seat. By default, users can start split check functions with up to 25 seats and a seat number will be assigned to each split. For example, the check will be split as Seat 1, Seat 2, Seat 3 etc.
Select the item in the split to be moved to a different seat. Once an item is selected, Move Here, button appears in each seat. Users can also use the Move icon available on the screen to move the item across seats and through the Move option available under the ellipsis in the check view. To move all items at once, select the split and select Move Here.
Move the selected item to the preferred seat. Each split displays the added items in the seat along with the financials that are collapsed at the bottom.
Select Split. The Split Confirmation prompt is displayed where the checks are split based on the seats and guest count can be added for each split.
The following icons can be accessed through this screen:
|
Icons |
Description |
|---|---|
|
|
Allows users to print the checks based on the split. |
|
|
Print Seats Allows users to combine checks of multiple seats and print a single check based on seat consolidation after selection. |
|
|
Cancel Cancels the split performed. |
|
|
Generate Check Generates the check based on the split. |
|
|
Single Check Toggle Allows users to combine checks of multiple seats and print a single check based on seat consolidation. If only two seats out of multiple seats are selected, two selected seats will be printed as one check while the other available splits will be combined and printed as a single check. |




Select Generate Check. The Print Split Checks confirmation prompt is displayed.
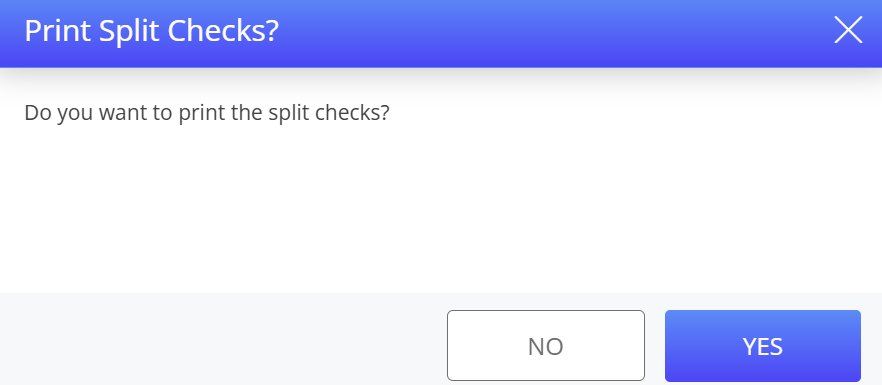
Select Yes. Checks are printed based on the splits.
Split by Item
Select Split by Item. The check will be split as Item List 1, Item List 2 etc.
Select the item in the check that needs to be split. Once an item is selected, Move Here, button is displayed across different Item Lists. Users can also use the Move icon available on the screen to move the item. To move all items at once, select the split and select Move Here.
Select Add Split button can be used to create new Item List.
Move the selected item to the preferred Item List. Each split displays the added items in the seat along with the financials that are collapsed at the bottom.
Select Split. The Split Confirmation prompt is displayed where the checks are split based on the items.
Select Generate Check. The Print Split Checks confirmation prompt is displayed.
Select Yes. Checks are printed based on the splits.
Split by course
Select Split by Course. This option Split by Course will be available only when the check has items from multiple courses. The check will be split as Split 1, Split 2 and so on.
Select the item in the check that needs to be split. Once an item is selected, Move Here, button is displayed across different Course Splits. Add Split button can be used to create new Course Split.
Move the selected item to the preferred Course Splits. Each split displays the added items in the seat along with the financials that are collapsed at the bottom. To move all items at once, select the split and select Move Here.
Select Split. The Split Confirmation prompt is displayed where the checks are split based on the courses.
Select Generate Check. The Print Split Checks confirmation prompt is displayed.
Select Yes. Checks are printed based on the splits.