


Scheduling
POS Schedule
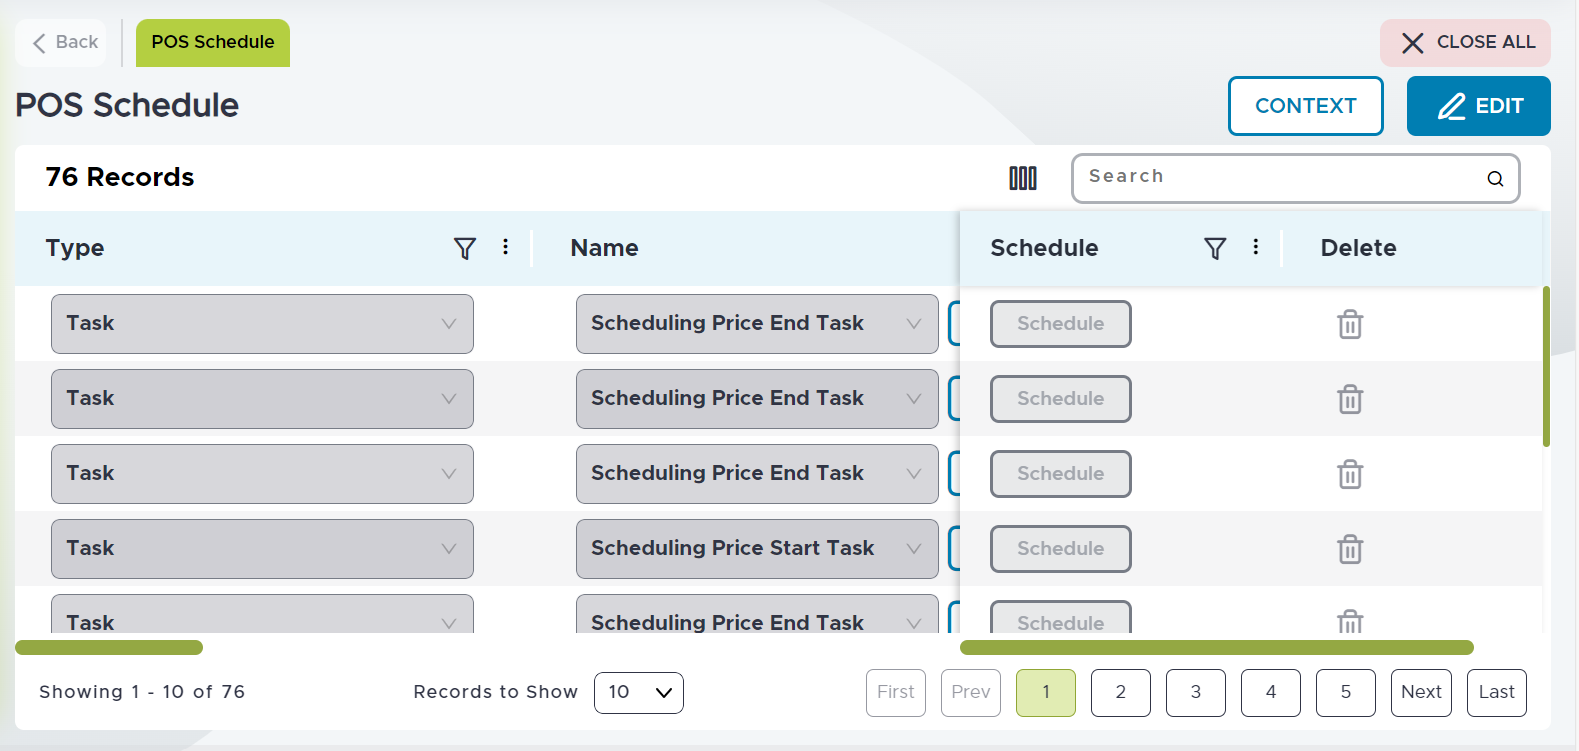
Tasks are scheduled on the POS Schedule menu, which is a data grid that can be widened, sorted, and grouped by any column. Results are filtered at the store level.
Users must navigate to Reports ➜ Scheduling ➜ POS Schedule. The following screen appears:
Perform the following steps to setup a schedule for report groups and tasks:
Select the Edit icon.
Refer to the following table and fill in the fields as necessary:
|
Field |
Description |
|---|---|
|
Type |
Select the type of task to schedule from the drop-down list:
|
|
Name |
Select the name of the task or report group. When Task is selected as the type, a list of the configured task names appear. When Report Group is selected as the type, a list of the configured report group names appears. |
|
Pause |
Selecting the Pause checkbox prevents the task or report group from launching at its regularly scheduled time. When this checkbox is deselected the task or report group launches at the scheduled intervals. |
|
Time Zone |
Displays the time zone in which the schedule runs. |
|
Frequency |
Displays the frequency of the scheduled action. |
|
Scheduled Time |
The time the action is scheduled for. |
|
Customer |
Displays customer context for scheduled task. |
|
Enterprise |
Displays enterprise context for scheduled task. |
|
Division |
Displays the division for scheduled task. |
|
Store |
Displays the store for scheduled task. |
|
Scheduled By |
Displays the user that scheduled the task. |
|
Destination |
This button is only selectable for Report Group tasks. Selecting this button displays the Configure Report Destination prompt, where the report group output settings are changeable. By default, the values in this field are the previously defined values in the Configure Report Destination prompt accessed from the Destination button in the Report Group: Basic Details sub-menu for the selected report. A different destination is possible by selecting one of the E-mail, Printer, or File Path options. |
A single report group can be scheduled multiple times to output at different destinations from the POS Schedule menu. For example, Report Group A can be scheduled to print at a printer, and then another schedule can be configured for Report Group A to output to an email or file path.
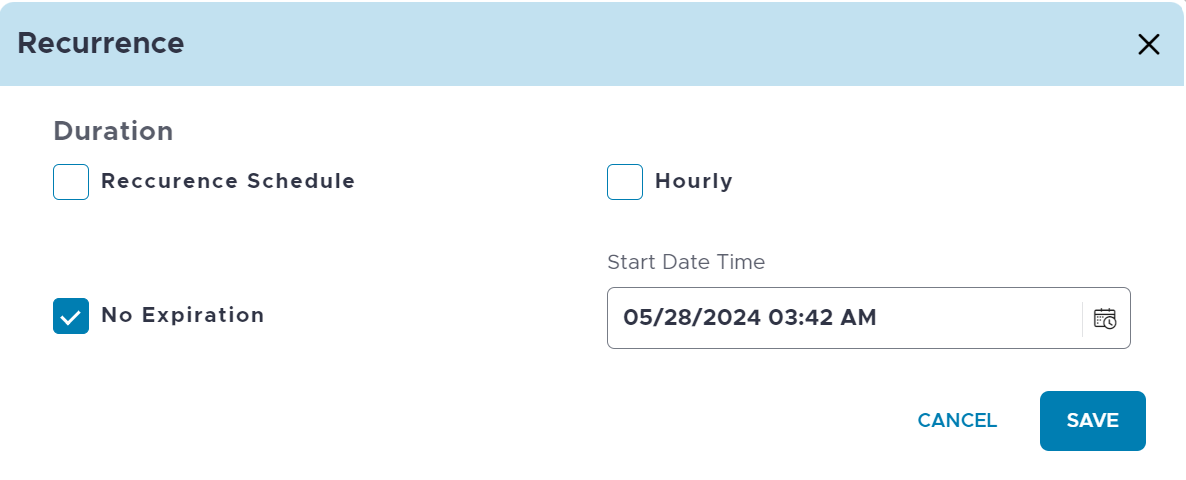
Select the Schedule button to schedule the frequency of the task or report group. The Recurrence prompt appears.
Refer to the following table and fill in the fields as necessary:
|
Field |
Description |
|---|---|
|
Duration |
Select one the following options:
|
|
Start Date Time |
Select the drop-down list to view a calendar. Select the starting date for the task from the calendar. |
Select Save.